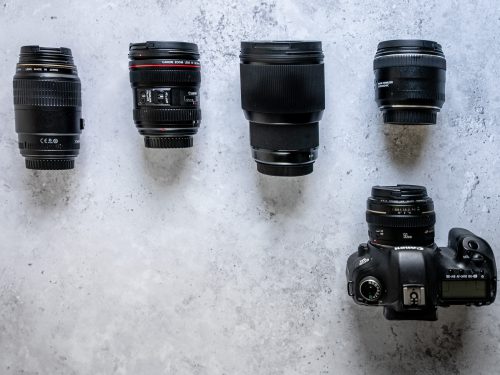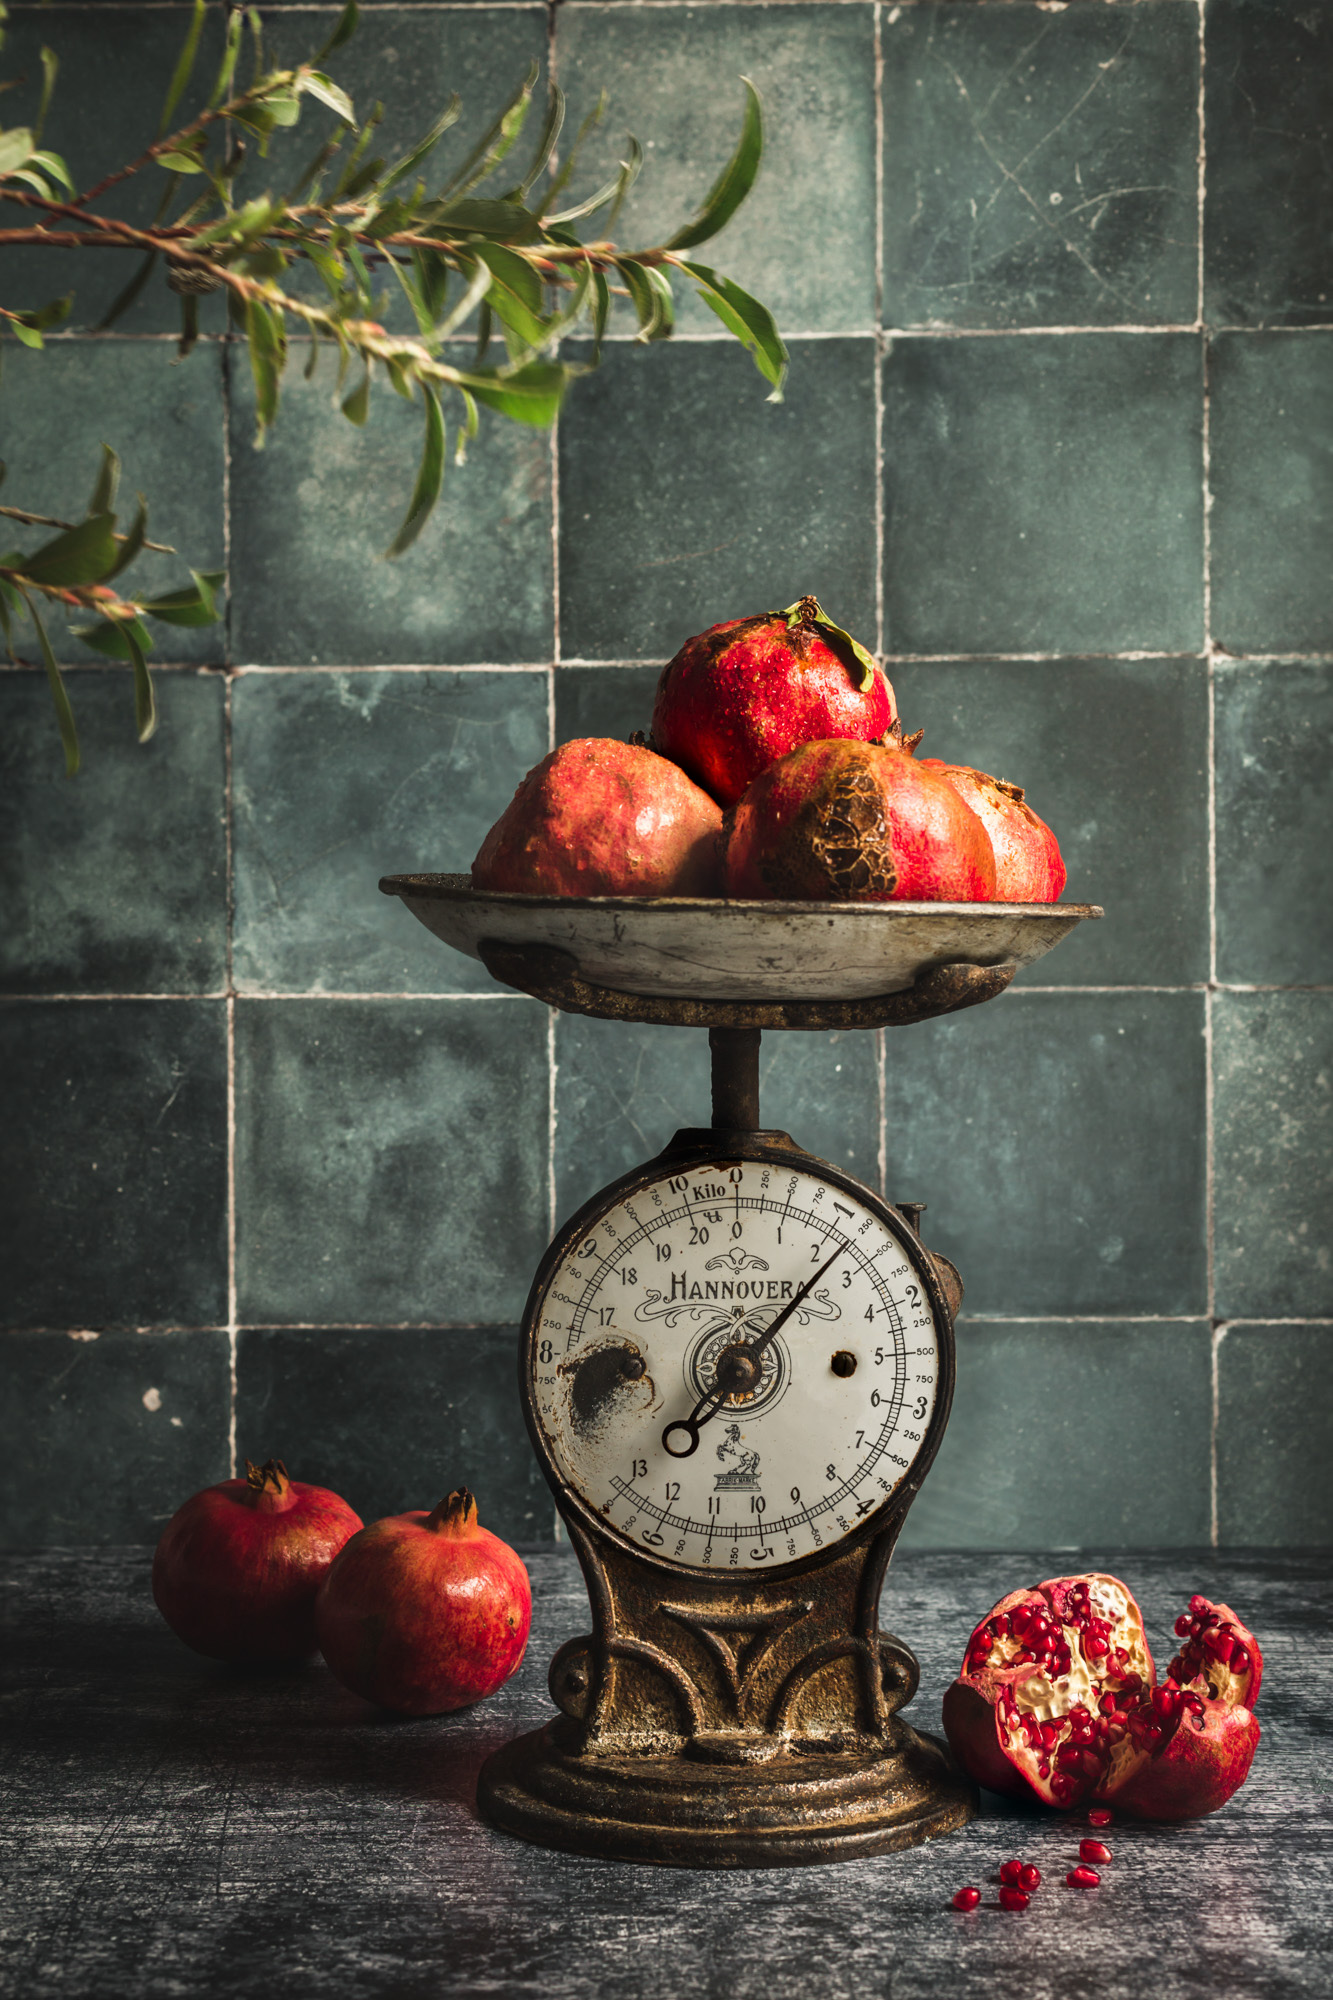
The idea for of focus stacking is to have more parts of the image in focus than technically possible. You might be limited by your camera settings or the lens capabilities. I was shooting this image in low light and went for a pretty low F-stop. I took four images with different focus points on a tripod, without changing any camera settings.
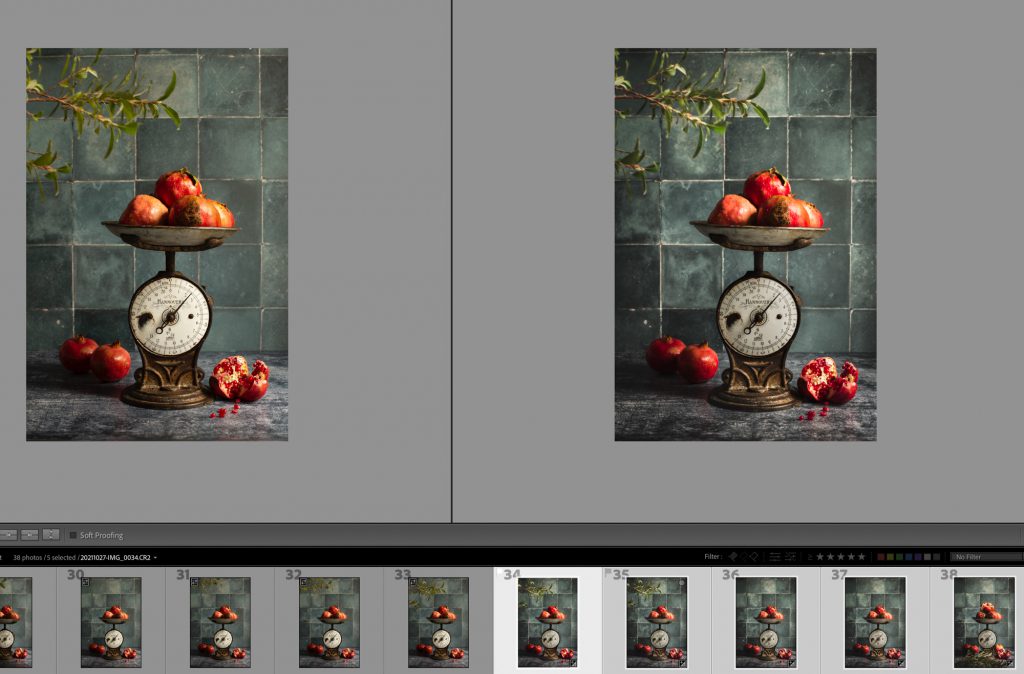
I edited all the photos in Lightroom, more precisely I edited one picture and applied the edits to all the photos by synchronizing the settings.
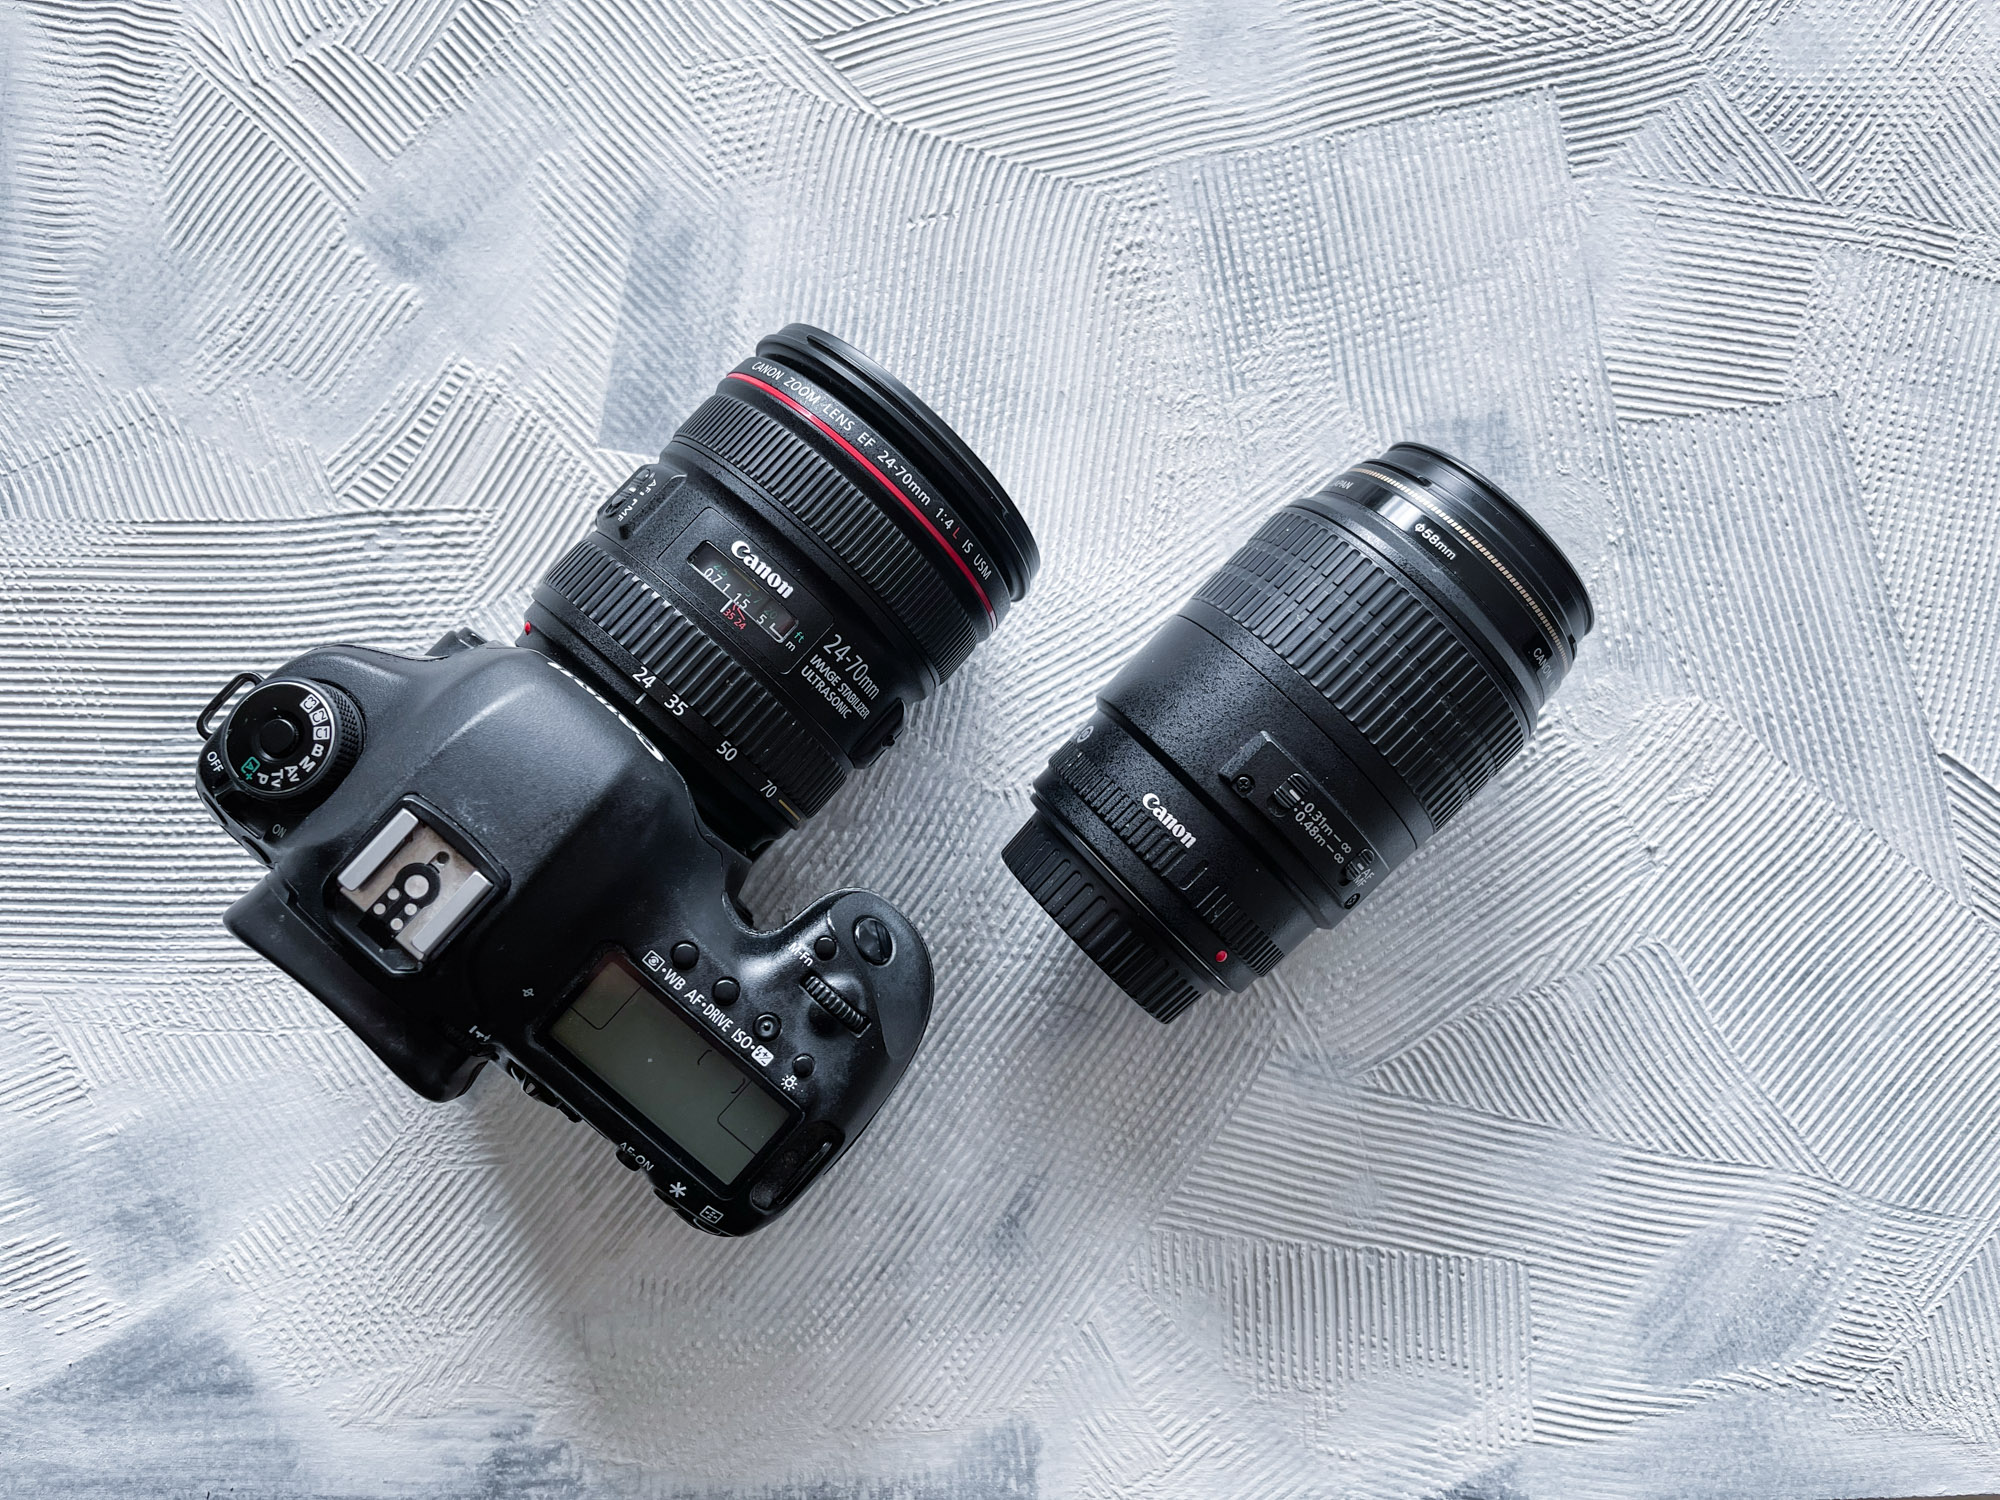
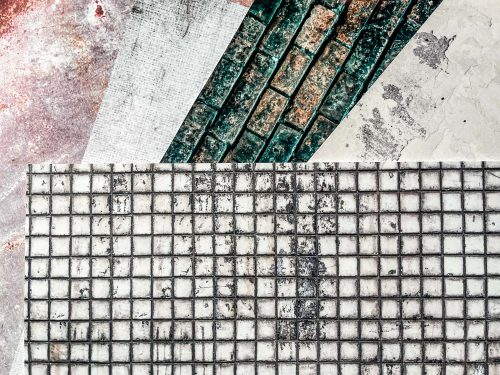
Preparation for the focus stacking action
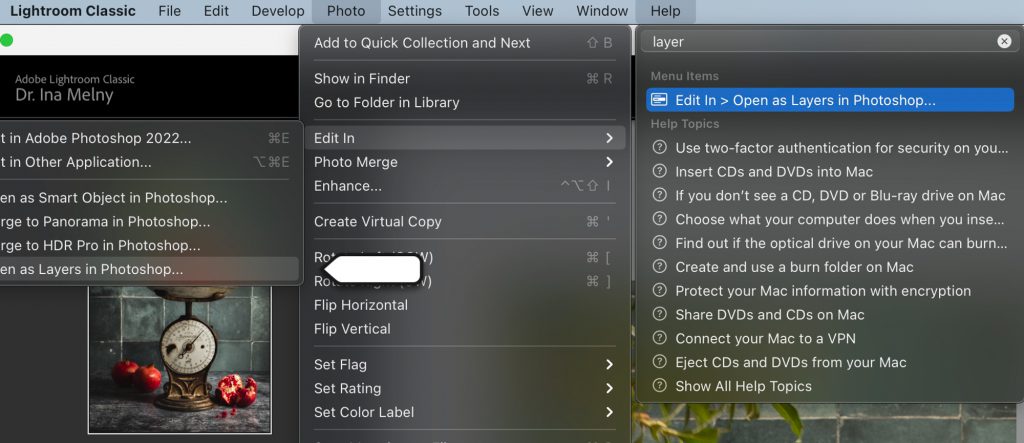
Next step was to transfer all my photos I want to include into my focus stacked image to Photoshop.
Here I am opening all the pictures as layers in Photoshop. It will make sure all the photos are in one file.
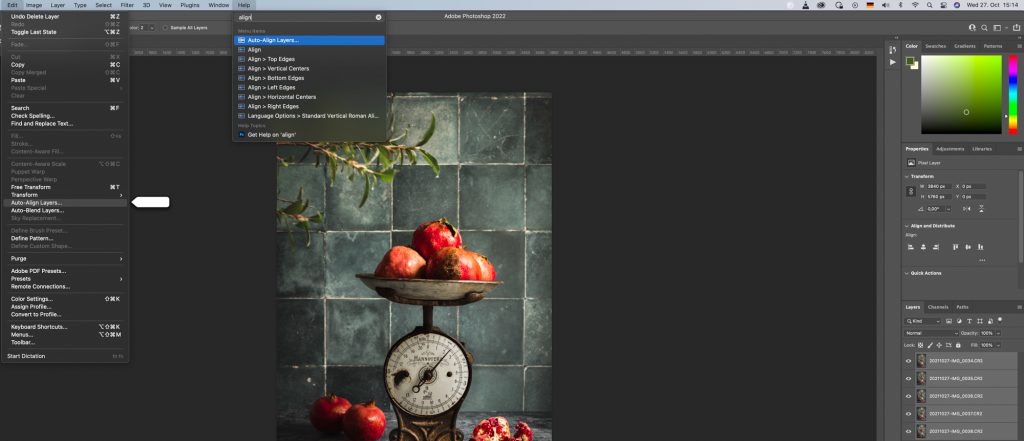
Now, we have two steps ahead of us. First, we have to align all the layers. Because of the focus breathing of my lens, the images are a little off even though I shot on the tripod.
focus stacking STEP 1
Easiest way to find all the commands is in my opinion to just go to help and to search for a keyboard, here I knew I want to create layers and tipped layer into the search field.
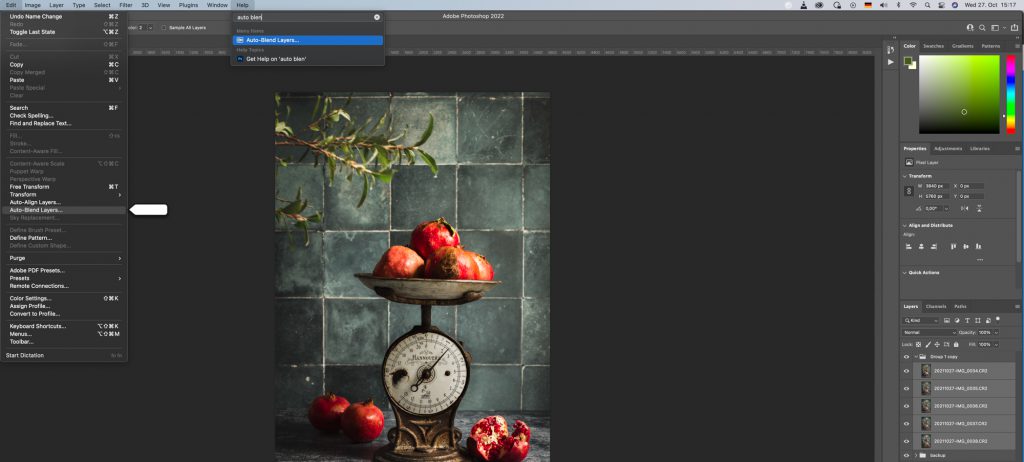
focus stacking STEP 2
Next is the magic, that will find all the parts of our image that are in focus for us. It’s called also blend layers.
focus stacking STEP 3 (optional)
Here we see all the layers of those the mask. The sea which part of every layer of the selected for the final image. The final image is the largest selection of all the images. I don’t like the automated version, I want to work on the layers a little bit more. Especially because a hand held the leaves and they are a little off in the final picture now.
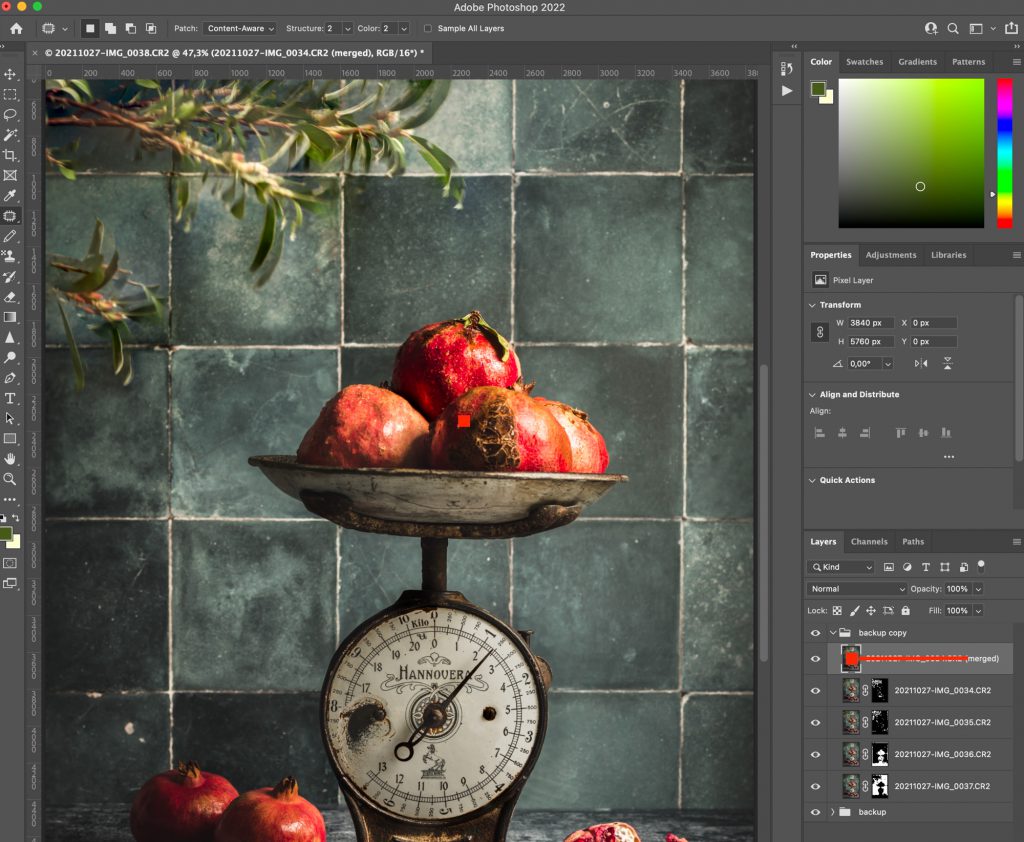
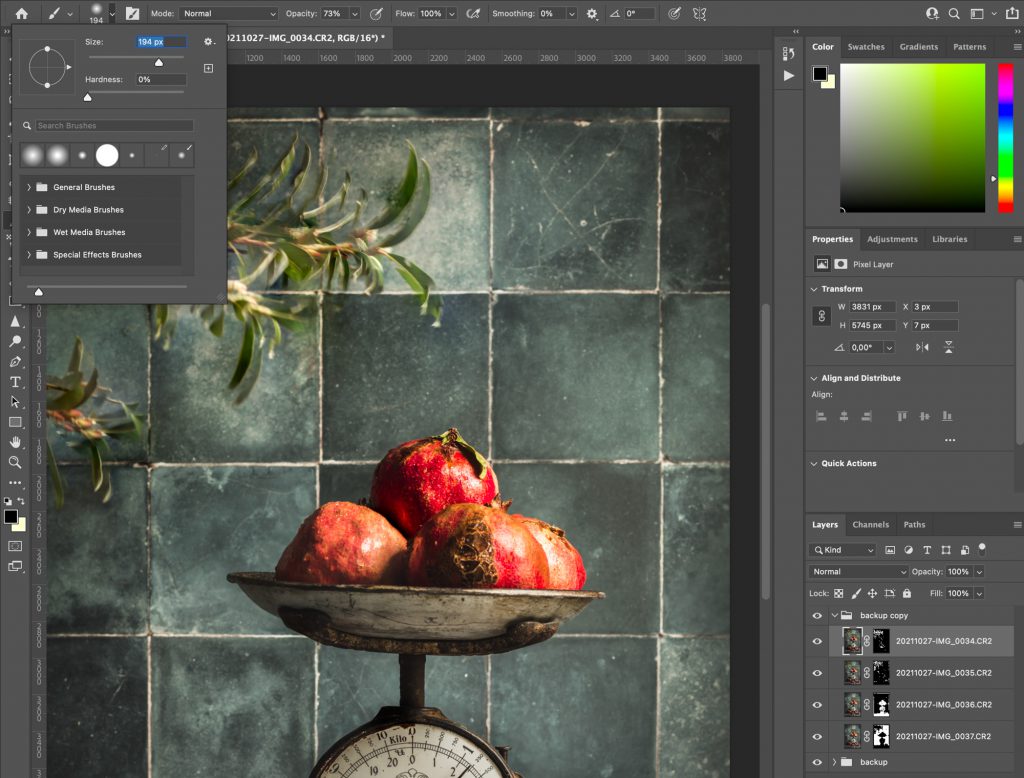
To work with the masks, I select the individual masks, with a virus and black brush I can expose or cover the selections made by the mask. If you look closely, I have a backup folder under my layers that I’m working on.
In this “backup” folder all the original images. Even though I could switch on and off the masks to see the layers and to decide which parts of each layer I prefer, I find it a little bit easier to go through the original layers without the mask to see for example where my plant on the left comes out the best.
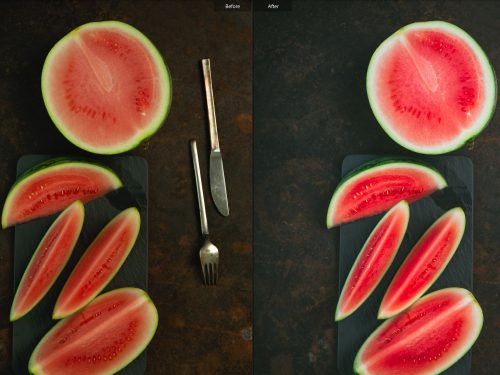
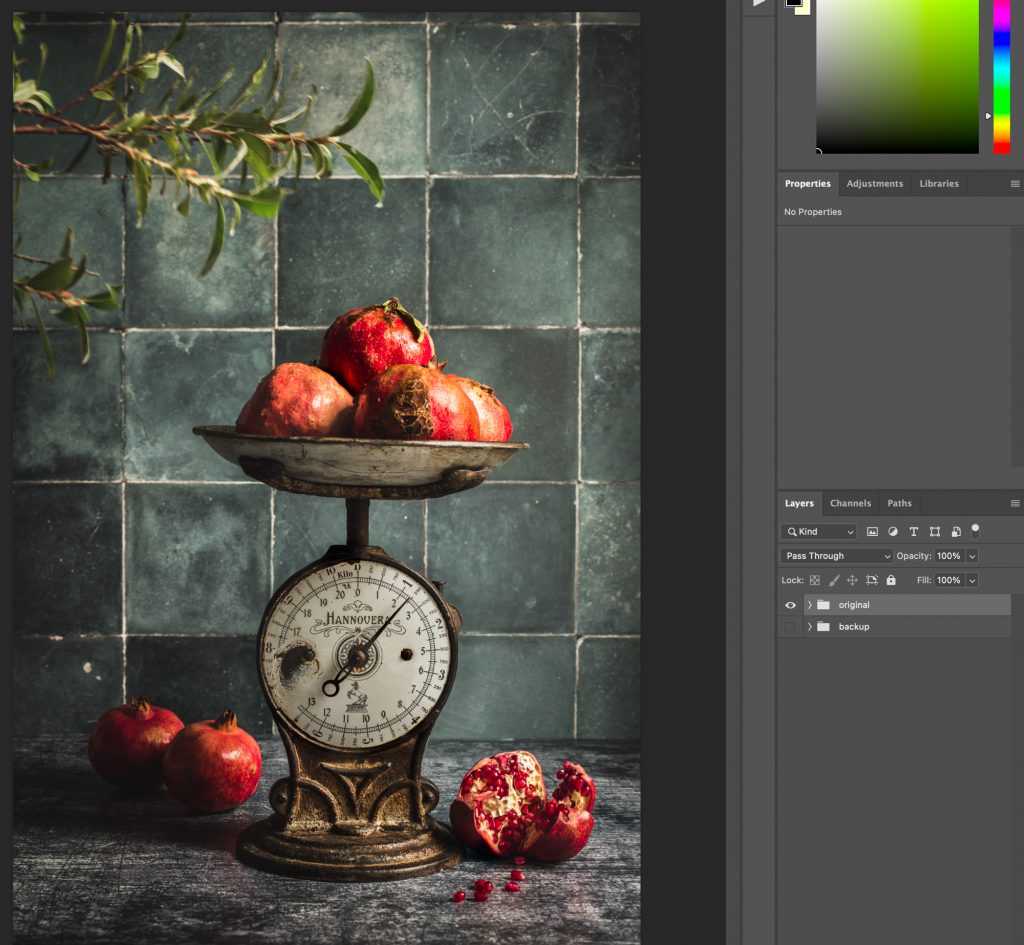
Here is the final image I am pretty happy with. Looking at it here, I wish I left the backdrop, meaning the tiles, a little bit more out of focus.
Watch this tutorial and go through the editing process in real time while practicing on your image.