Making my first stop motion video for instagram, I went on Youtube for help and found very helpful stop-motion tutorials.
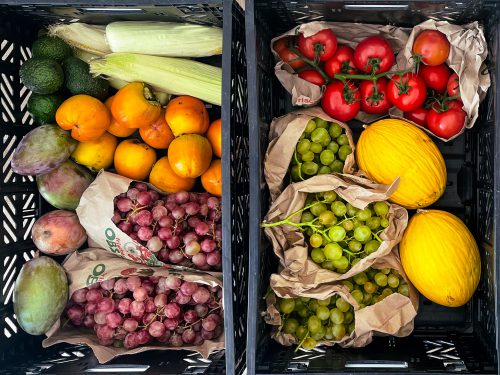
Here’s my example of simple stop motion I made with some grapes I had at hand. Tethering the camera and using artificial light it turned out pretty decent for beginners stop motion. I say use that official late, I had very little post processing which I didn’t thoroughly in Lightroom. I definitely recommend using artificial light when you try filming stop motion for the first time.
Here is a nice straightforward tutorial made by Photoshop. It’s a little bit older, but all the functions are pretty much similar to the current Lightroom and Photoshop versions. Here in the tutorial you can see how the light is jumping a little bit. You can avoid it using artificial light and making sure you don’t come in between the subject and artificial light so you don’t create any shadows.
Steps for your easy and quick stop motion production:
Here is a good video for the setting up the subject and the camera
Prep the subject for the stop motion animation
- the background and the parts that are not moving should be fixed
- you can use double sided tape for plates, and regular tape for the backdrop
Prep the light for the stop motion animation
- I prefer using a continuous light source
- I would shoot at night or close all the blinds to avoid changing natural light
- I would place the light in a way, so I don’t come in between the light and my subject while animating
- I would wear something black to avoid reflecting light onto my subject
Prep the camera for the stop motion animation
- my camera is on a very steady tripod or handing from an overhead stand
- I have my camera on a power adapter so my battery does not to be replaced
Prep the tethering software for the stop motion animation
- I connect the camera to my computer and open the EOS tethering software
- there are expensive stop motions software a beginner does not need
- I’ve heard you can shoot directly to lightroom, but have not tried it yet
- I adjust the software and the camera settings and shoot automatically all my frames
- I calculated the frames I need (80-200) and shoot the frames with a 5-10 sec delay
- it’s much faster to take the pictures in a preset automated intervall, so I don’t have to take each frame manually
- as for the settings, I would set the focus and disable autofocus to avoid an movement of the lens
- white balance and any other variables should be fixed
- my ISO is depending on a light source low (100-250), aperture at f5-f7, and the speed can be as low as 15/s as I’m using a tripod
Shoot the stop motion animation sequence
- move the elements you want to animate in small increments in between each take
- for 1 second of a final video you will need 10-25 frames = takes
- you can make your video longer by repeating the sequence multiple times, or playing your stop motion in reverse after playing it normally
- calculate the moves/distance of the moves accordingly
Edit images for the stop motion animation in Lightroom
- I start with editing just one image in LR
- I crop it (9:16 or 16:9)
- I adjust the white balance and the colors
- then I synchronise the settings of the image to all images
Transfer to Photoshop
- in LR, I select all the images and go to Photo > Edit in > Open as Layers in Photoshop
- it can take couple of minutes
Edit the stop motion animation in Photoshop
- go to Window > Timeline
- in the dropdown select create frame animation
- click the button to create
- select all layers
- in the menu on the right change the order if needed (reverse)
- adjust the speed of the frames by selecting a few or all and change the duration
Export the stop motion animation
- export the video or the gif
- File >Export > Render Video
Masking out parts, that moved, but should not have
Sometimes parts get moved accidentally, or due to poor planning I didn’t keep the whole picture in mind and I’ll have to clean up the frame. Here’s a good example of a quick cleanup
Here’s some more complex masking tutorial for the case you want to have only few parts of the image moving and the rest of the image being still. It’s a deal if your house door and it the background of the image or some other parts that are not as perfect as you wish them so be.
Here’s a pretty horrible old tutorial but it has many creative techniques and combining of a video and stop motion into one clip. Can you can see tons of problem with the light and background you might wanna fix in your video.
Great tips and techniques to make you stop motion perfect, smooth, and beautiful.
Create stop motion using only 2 photos (before-after) by exposing small parts step by step
More Info on this page here