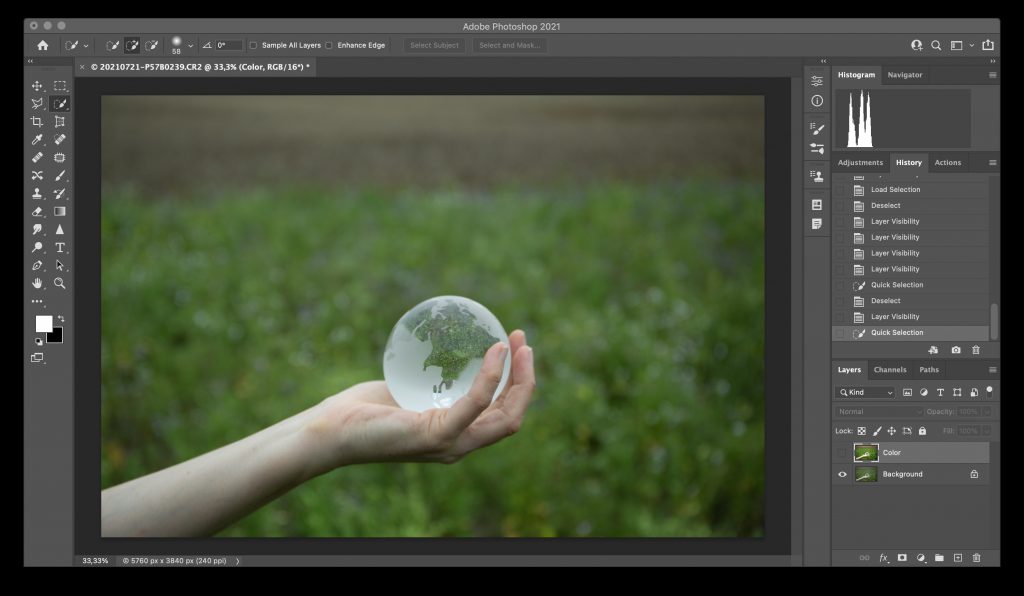
My original photo opened in Photoshop, where I wish to add something eye catching. It would have been nice to shoot this photo backlit, but the weather was not in my favor yesterday and I will add the sun rays manually using the lens flare effect. There a many many ways to add sun, sun rays, sun flare in photoshop. This is just a fast and easy one.
Here is a quick video, read the post with still pics for easier edit along.
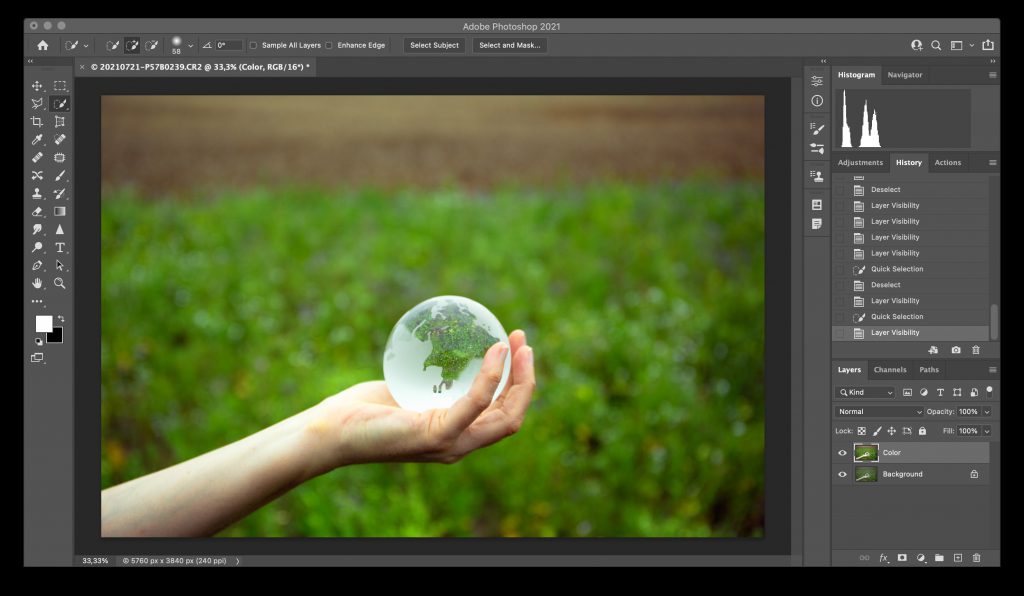
Open the photo
I opened the original photo in Photoshop and adjusted the colors a little ro match the backlit dreamlike mood.
Adding a new black layer
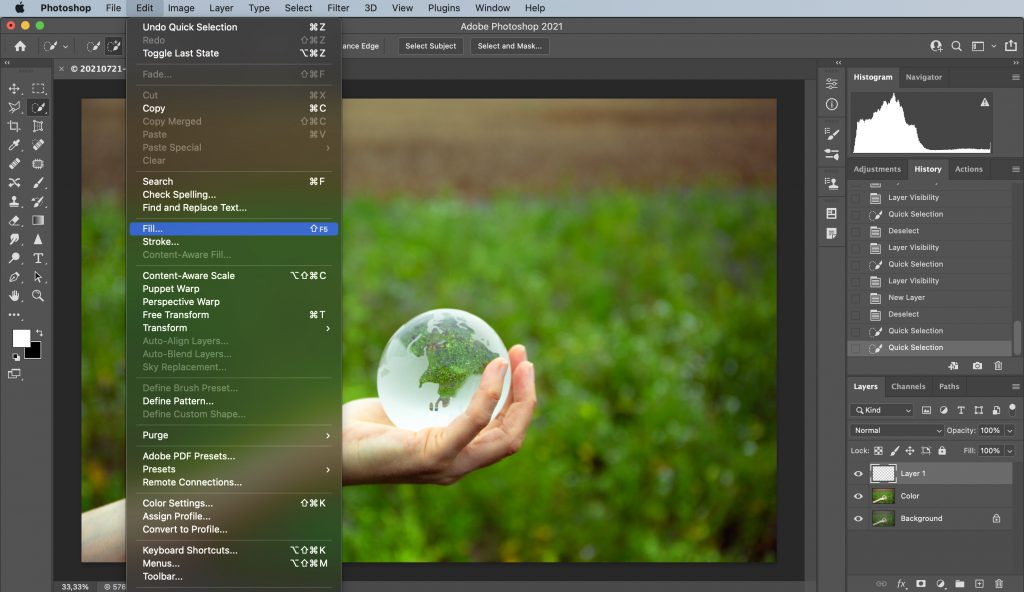
Then add new blank layer and fill the layer with black color.
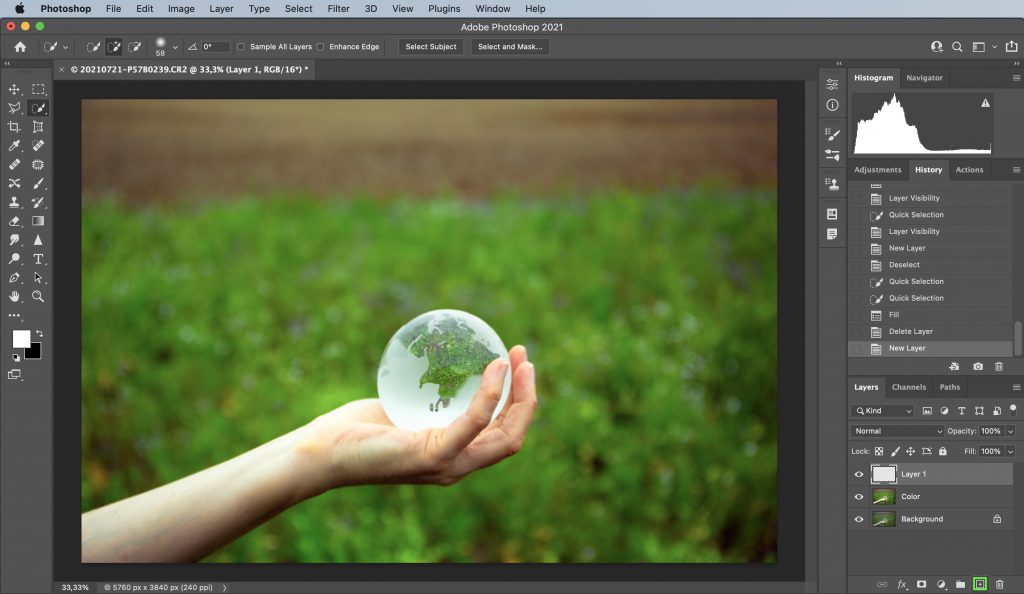
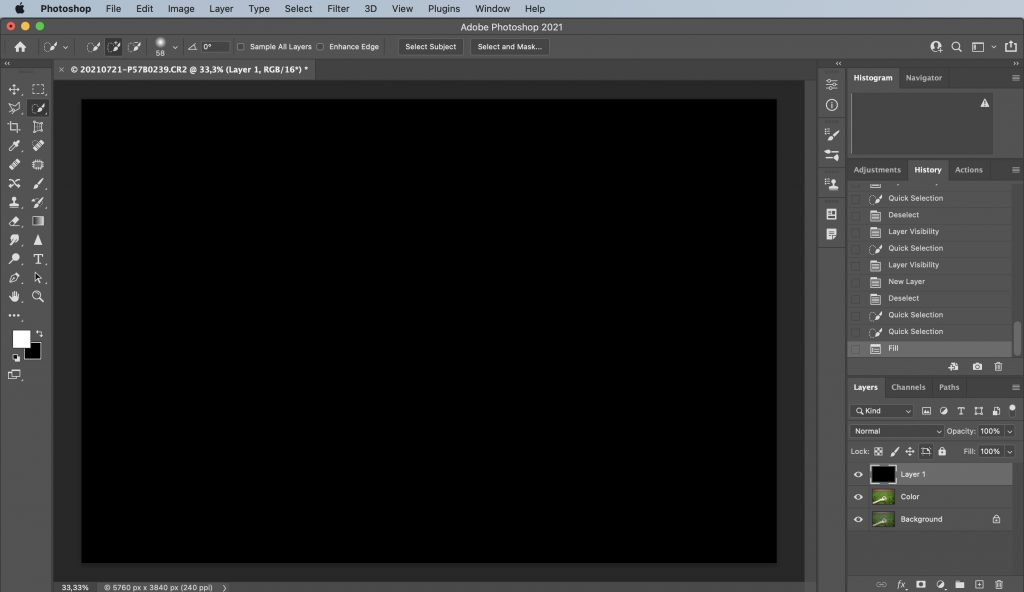
I named the new layer “sun backlit”.
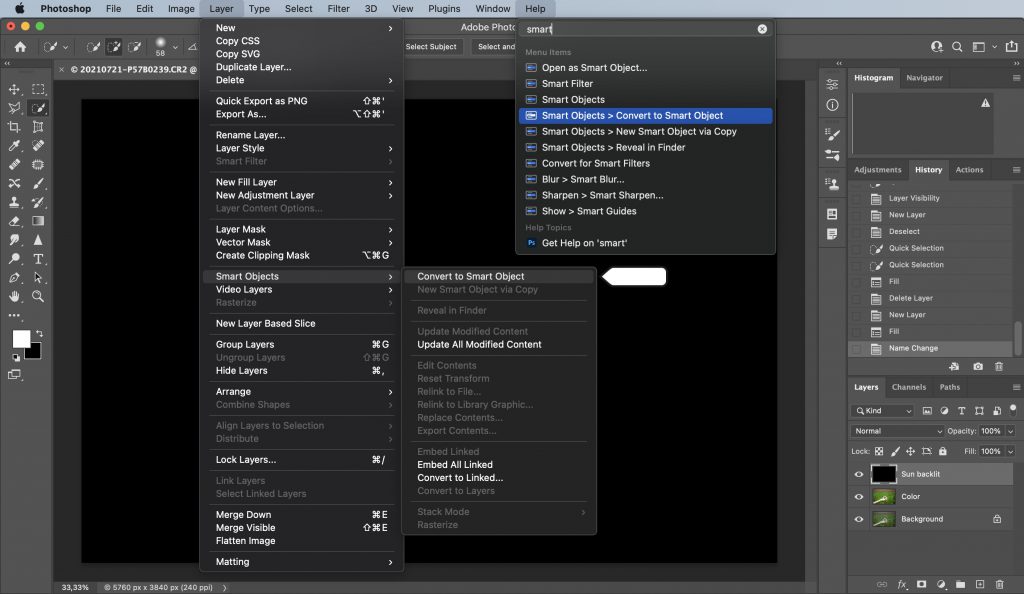
I converted the layer to a smart object. If you are unsure where to find this option, just type “smart” in the help-menu in photoshop.
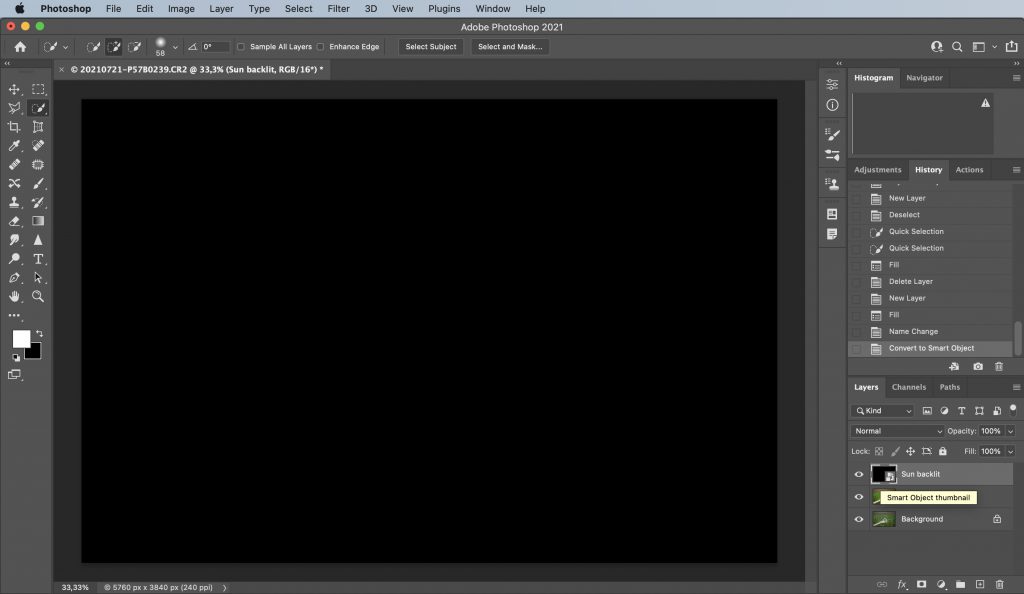
My layer has now the smart object symbol.
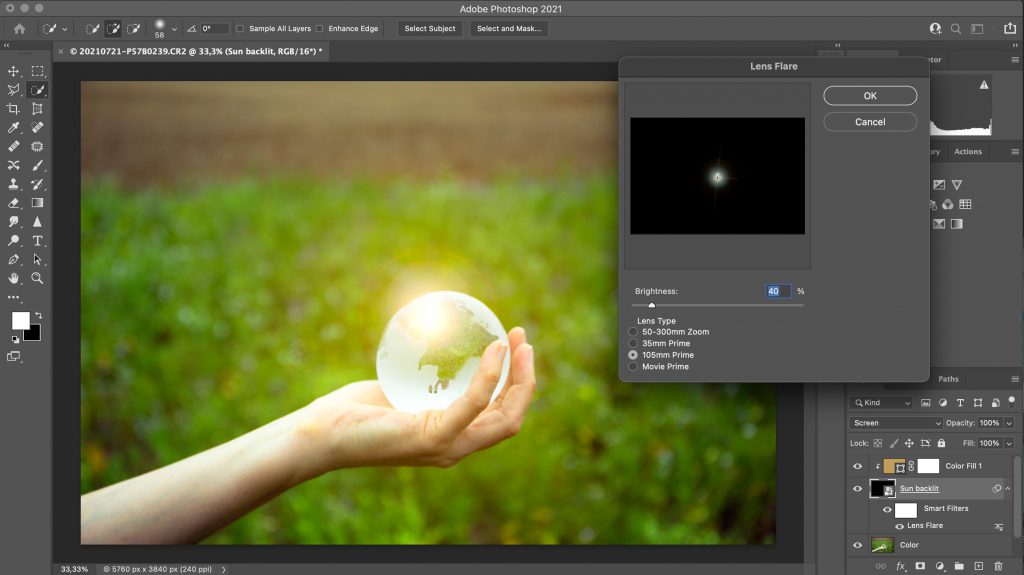
Add lens flare
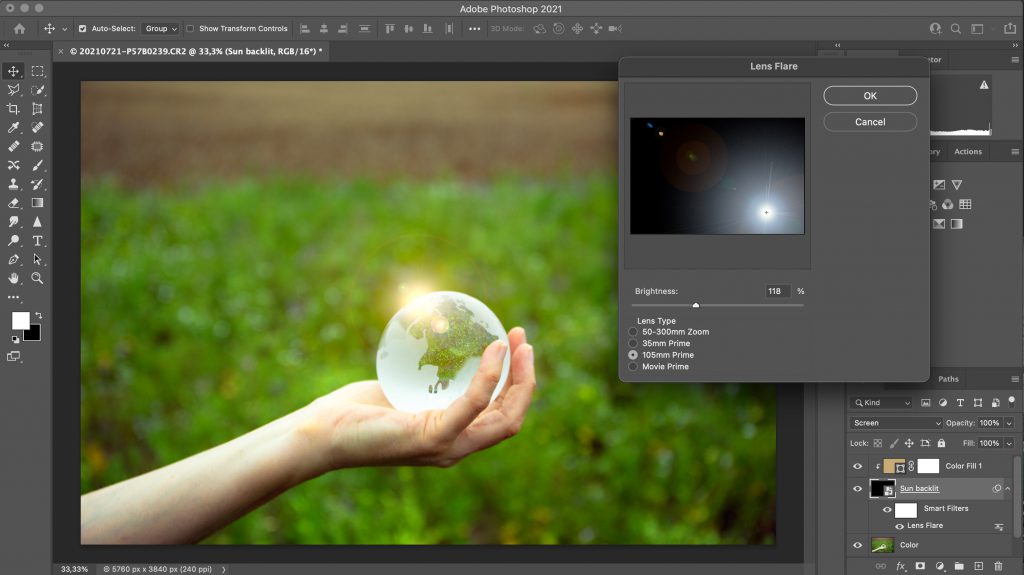
I will add the lens flare. It’s in the filter men. Chose render and lens flare. Or just type lens flare into the help menu and click onto the render-lens flare search result.
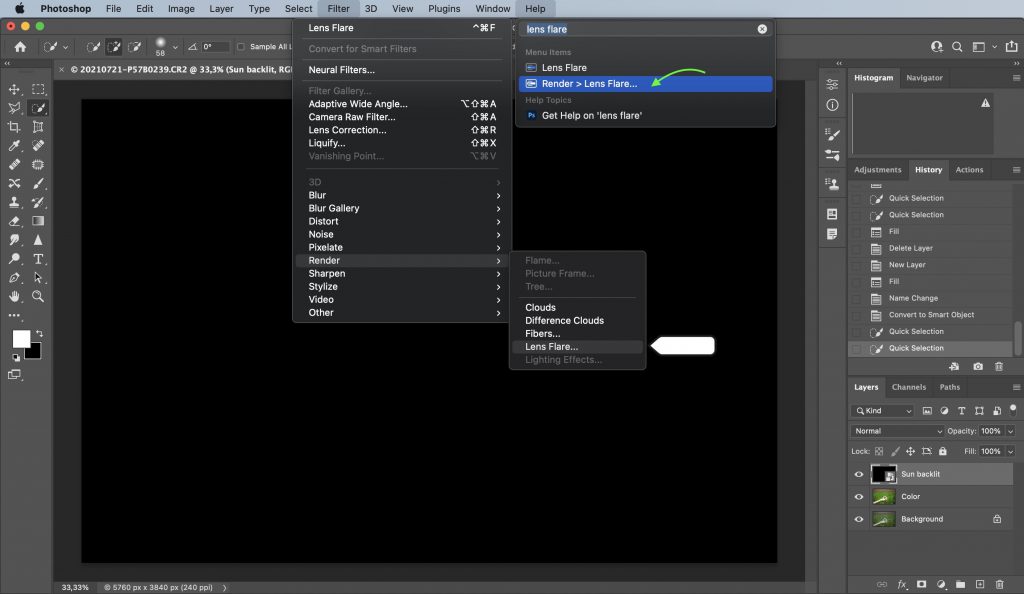
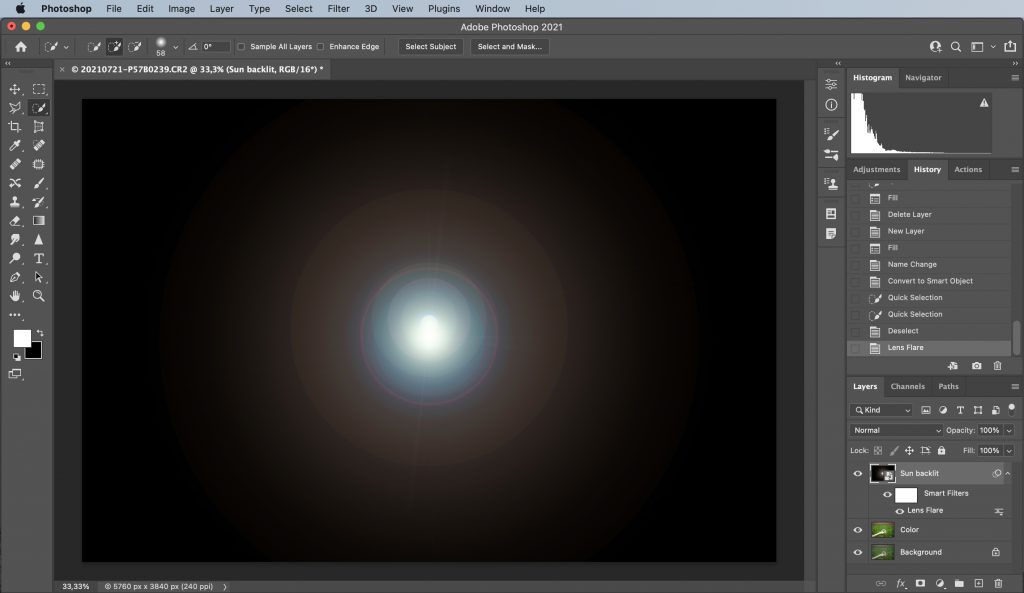
Lens flare creates a realistic sun rays effect in Photoshop.
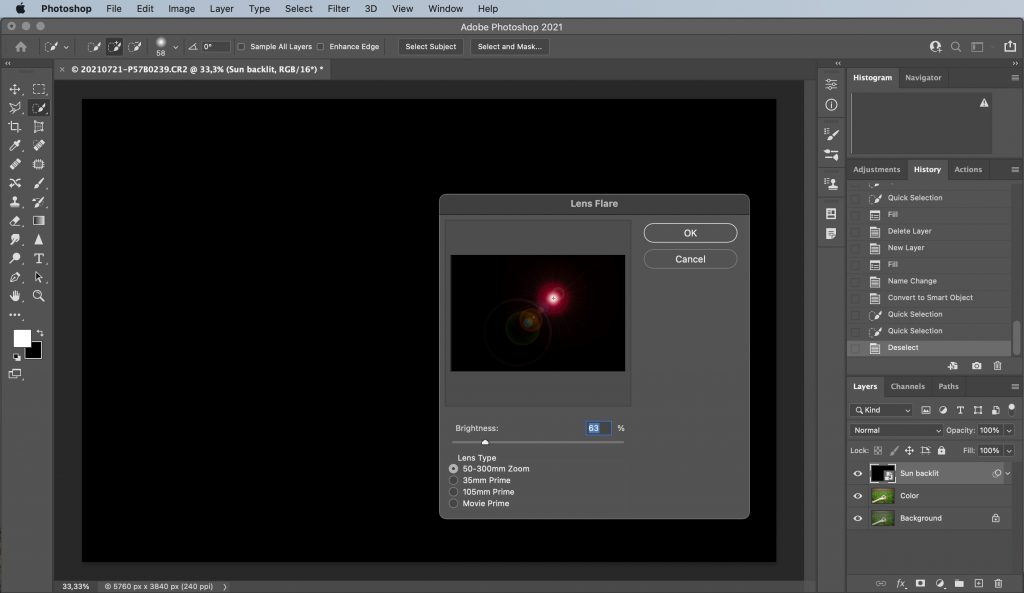
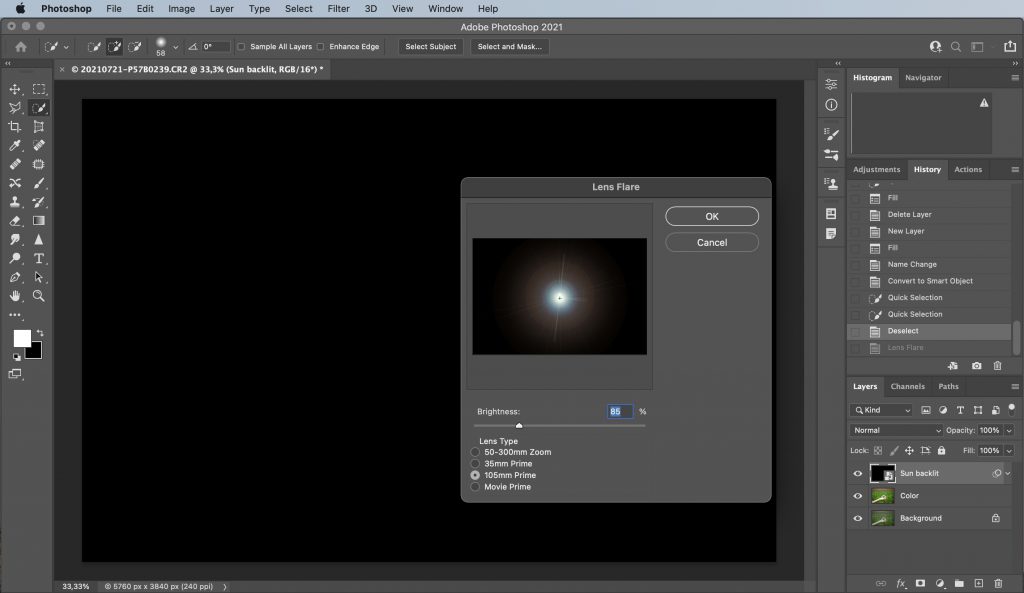
I select the 105mm prime lens and adjusted the brightness.
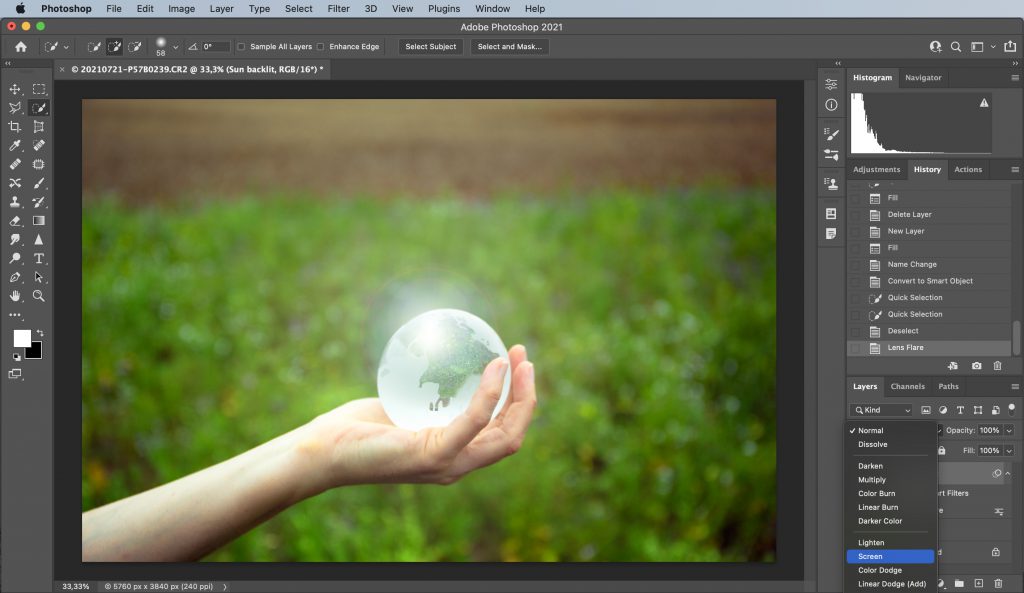
Ok. Now the lens flare in on top of our photo and needs to be transparent. To achieve this transparency, we can use the screen mode to blend both layers together.
Blending mode “screen”
Right click onto the Sun layer to set the mode to Screen.
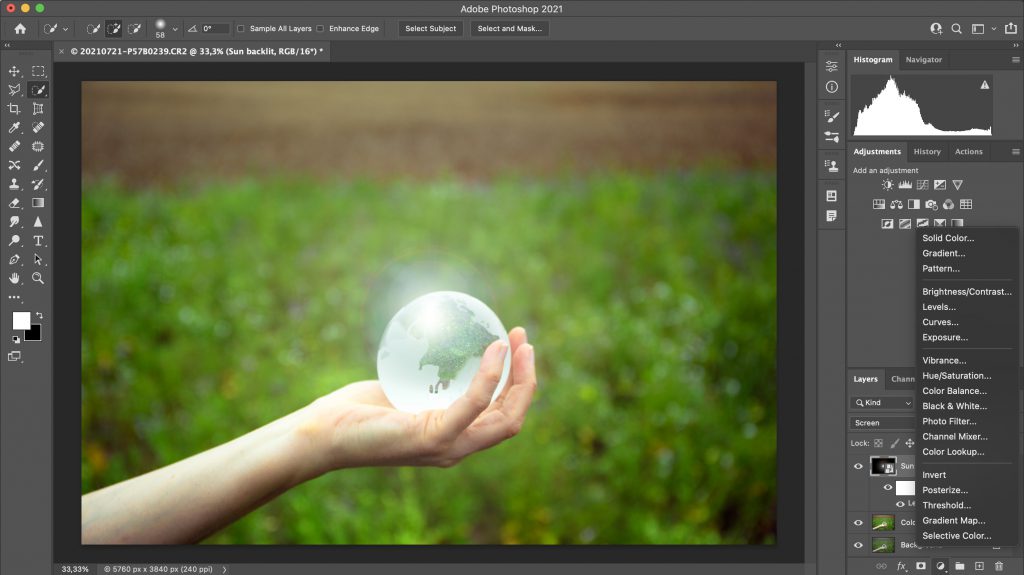
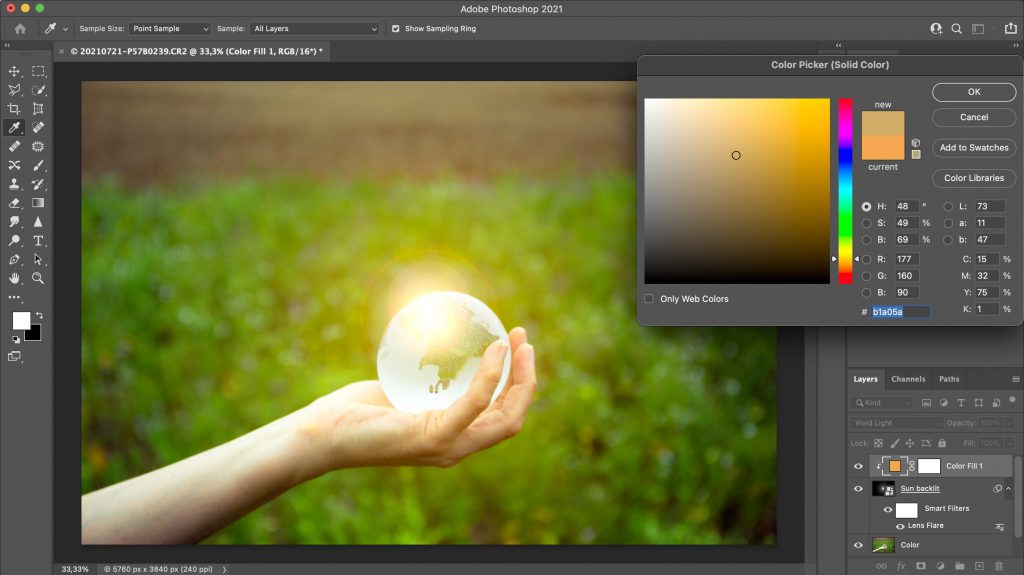
Solid color fill adjustment layer
To create a more realistic sun effect I need to add some color. Depending on the time of the day I want to simulate, I would add a different color.
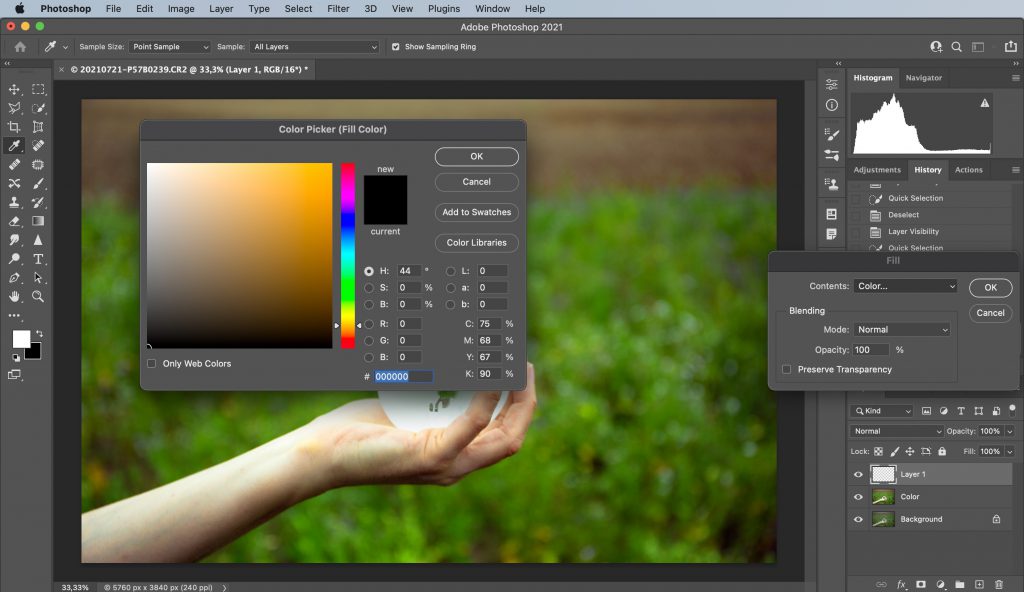
I added a new solid color layer. Click the round symbol and pick solid color.
This window should pop up and I chose an orangey color.
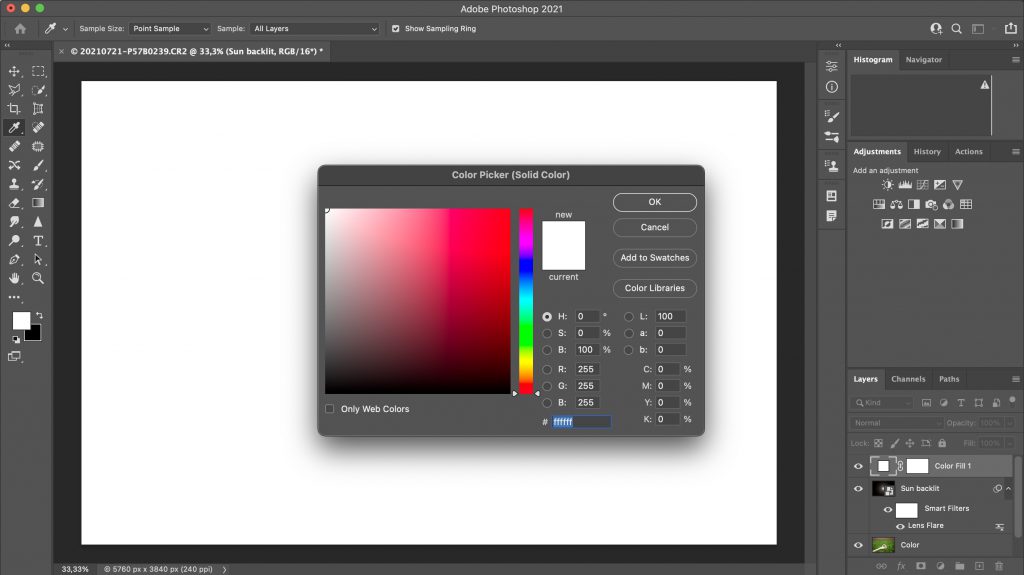
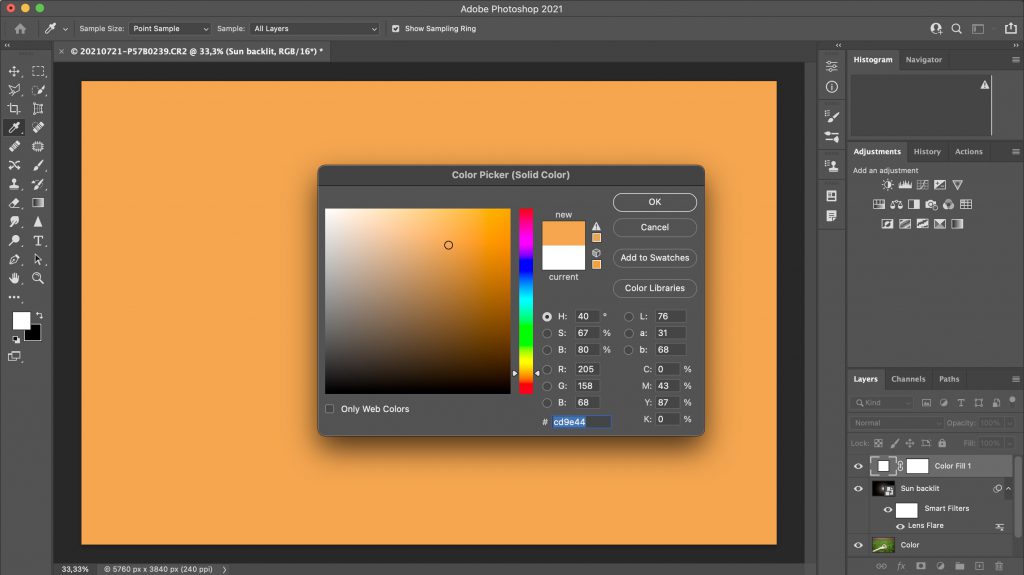
Ok.
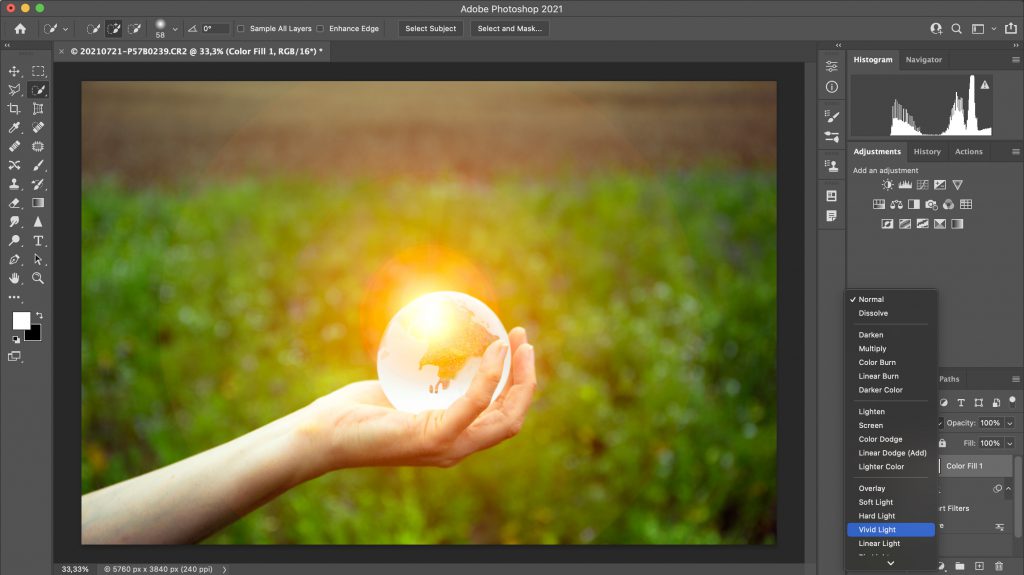
Color layer “vivid light”
I set the mode to vivid light.
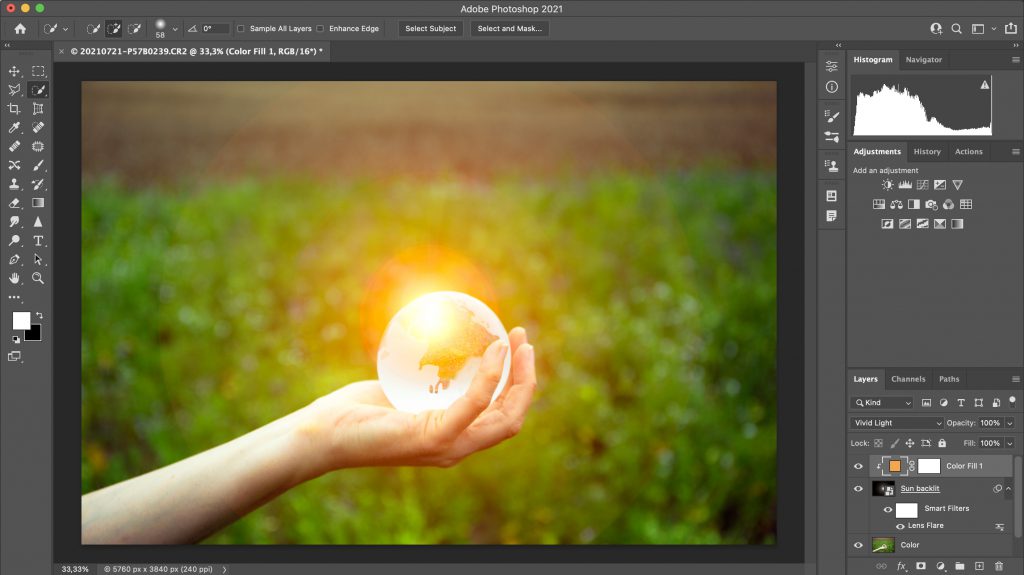
Here I created the clipping mask. Simply by right clicking onto the Color fill layer (not the white or orange square!)
Now I can further adjust the color by clicking the (orange)color fill symbol. I wanted to brighten it up.
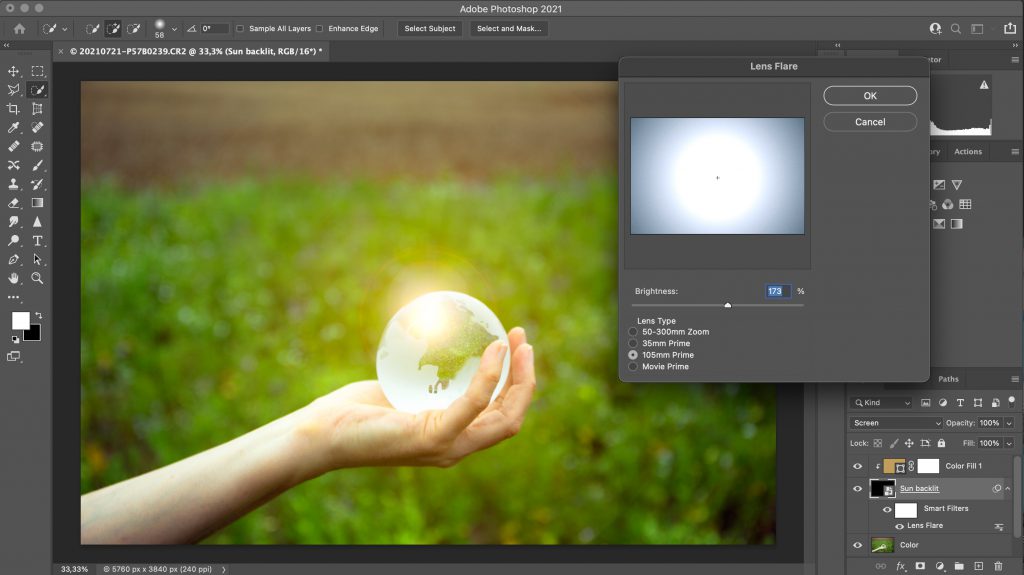
The size and the position of the sun can be adjusted by clicking the lens flare symbol.
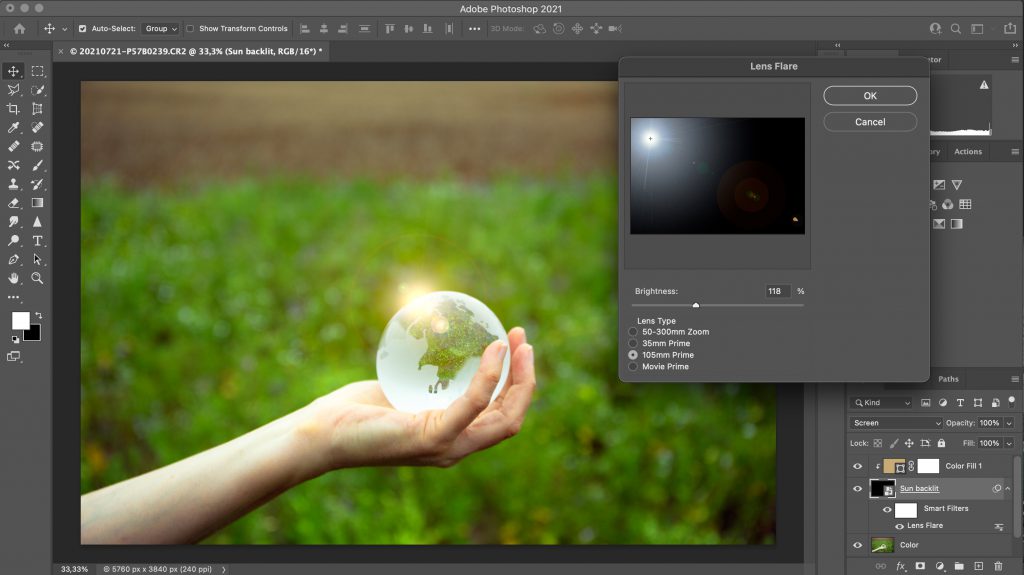
Similarly we can change position of the sun as well.
The sun rays are composed of different colors. You can duplicate the top layer once or multiple times and play with different colors and different modes! Try soft light for example. Overlaying different colors will help to create a more realistic look. Google to find a good reference picture of the sun you want to replicate.
Before-after


If you are looking for a slightly different effect, there is probably a way. You can apply a png of a sun to the photo or even draw your own sunrays.