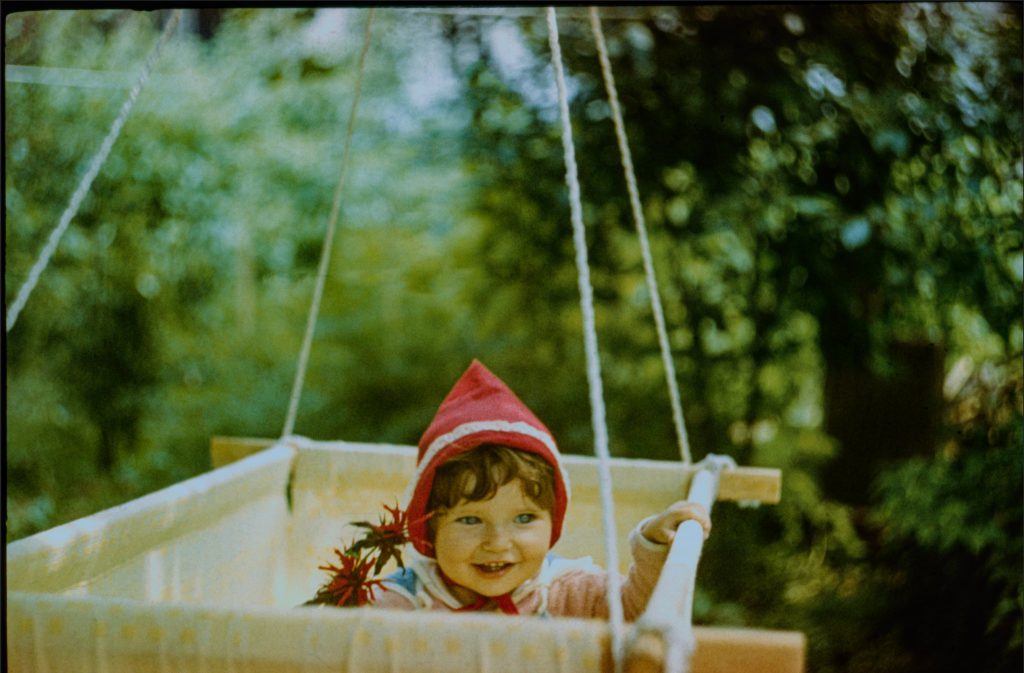
I found an old dusty scratched-up dia slide and was about to restore it, when I noticed: it’s not possible to remove every single piece of fluff, every single corn of dust, and every single scratch by hand simply because there are too many. Also, the image has some other major problems and is simply not worth hours of work. I want to fix it up as good as possible but rather quickly.
I was contemplating sharing the story of my life like every good recipe creator would, but decided not to.
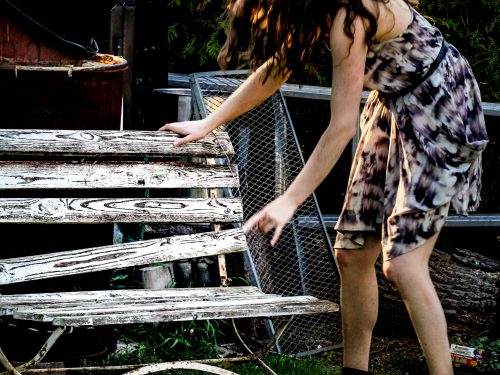
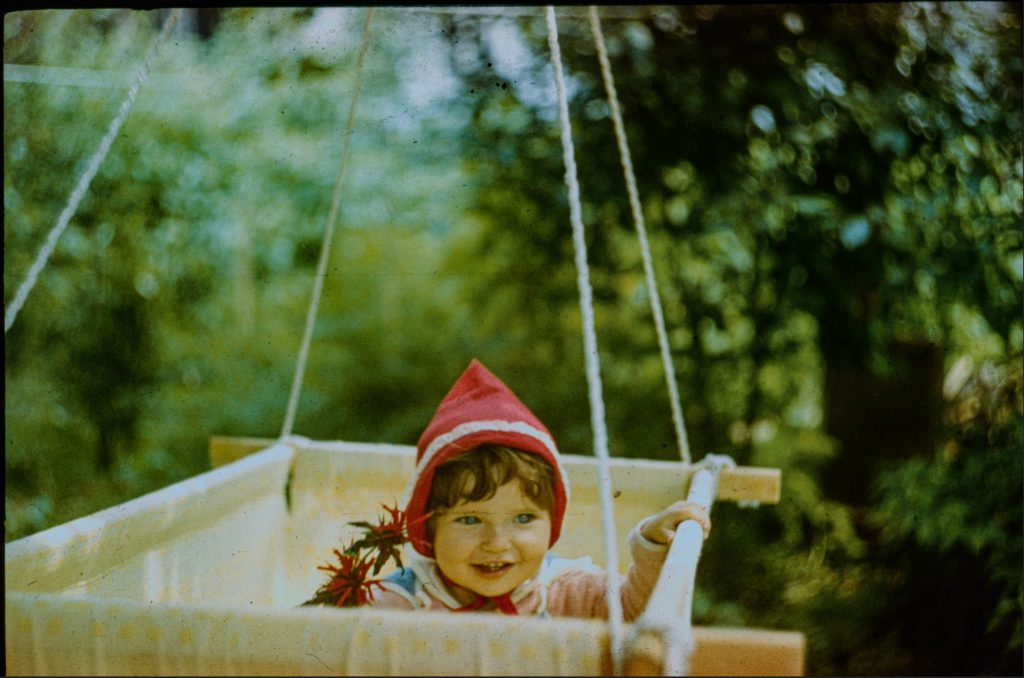
Before and after a simple dust removal in Photoshop
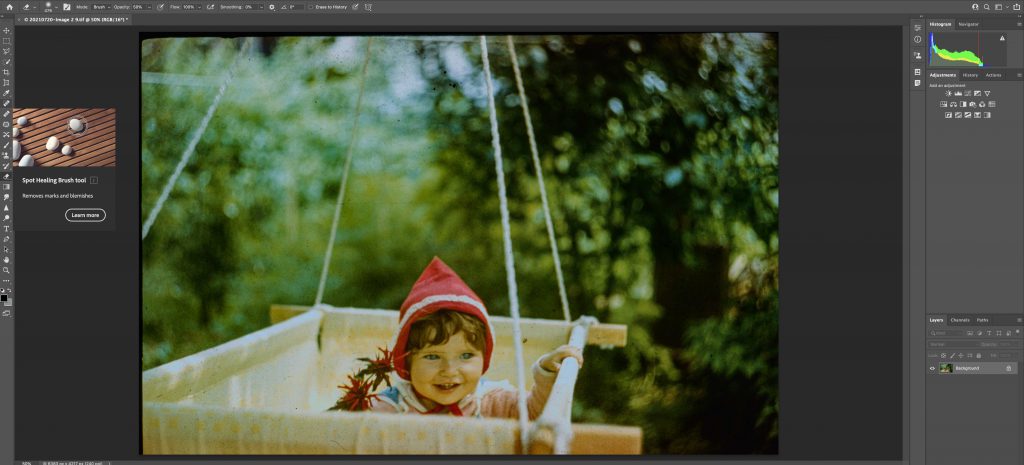
The tool I grab for smaller jobs on digital photos would be in most cases a Spot Healing Brush tool. It repairs small areas, but every single sport and dust corn needs to be touched up manually. The Spot Healing Brush “heals” a spot sampling the neighboring areas. The dust ist then covered by the patterns and colors of the neighboring areas.
Spot Healing Brush tool works well for small ugly spots in not so prominent areas. The effect is similar to the Content Aware Fill tool. This strategy often fails in face areas, where there are many textures, shades and highlights very close to each other.
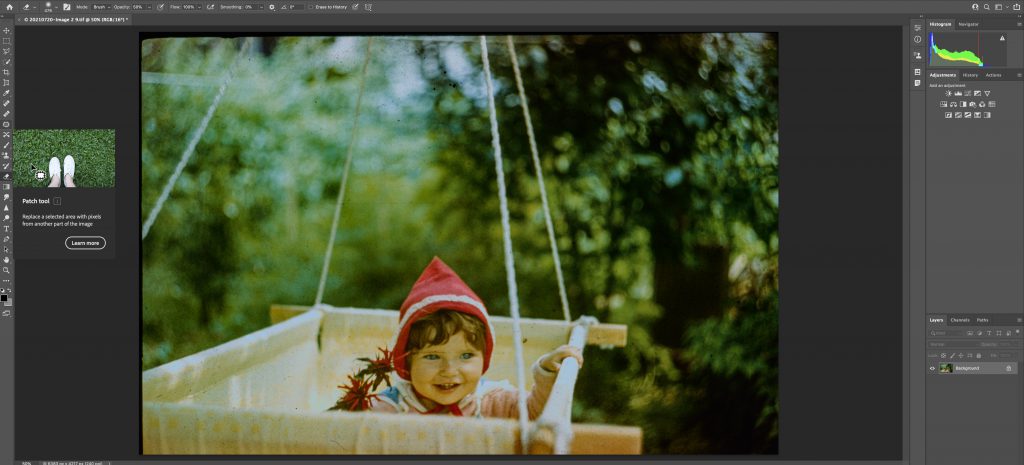
A more precise tool is the Patch tool. I can select one particular scratch or dust particle and define the exact area I want to replace the scratch or dust with. This way, I have more control for working in the face area.
Best photoshop tools for dust and scratch removal on larger areas and the face
Dust Filter for the quick overall dust removal and Patch tool for the touch ups in the focus areas (face, main subject, etc.)
Simple and fast scratch and dust removal with the dust filter in Photoshop
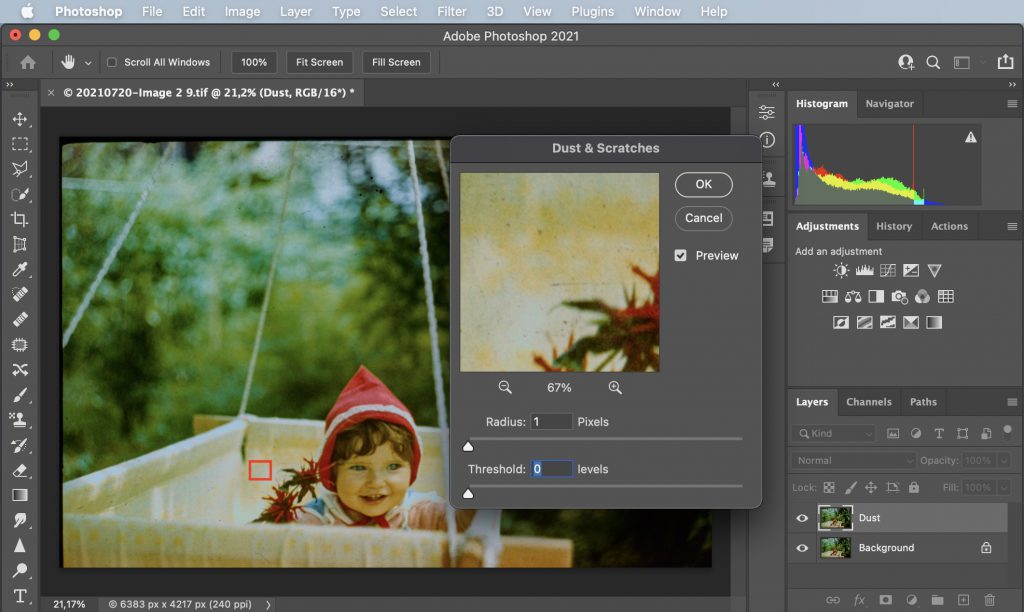
In order to work non-destructively I create a new layer by pressing ⌘+j or by just pressing the “+”-symbol.
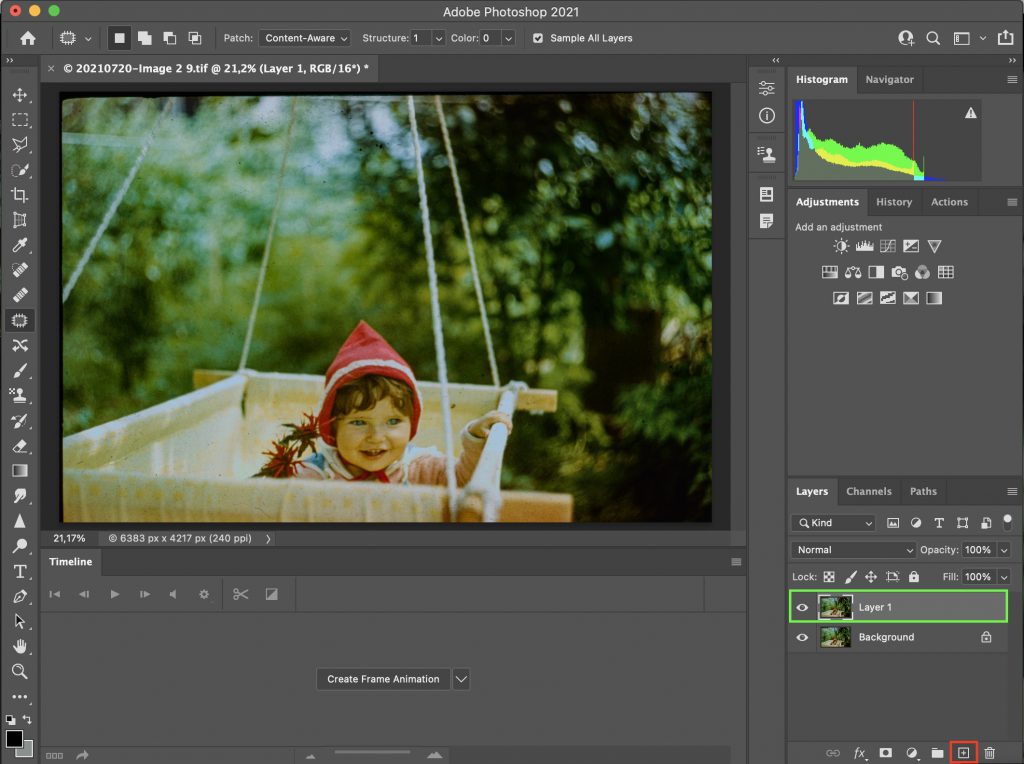
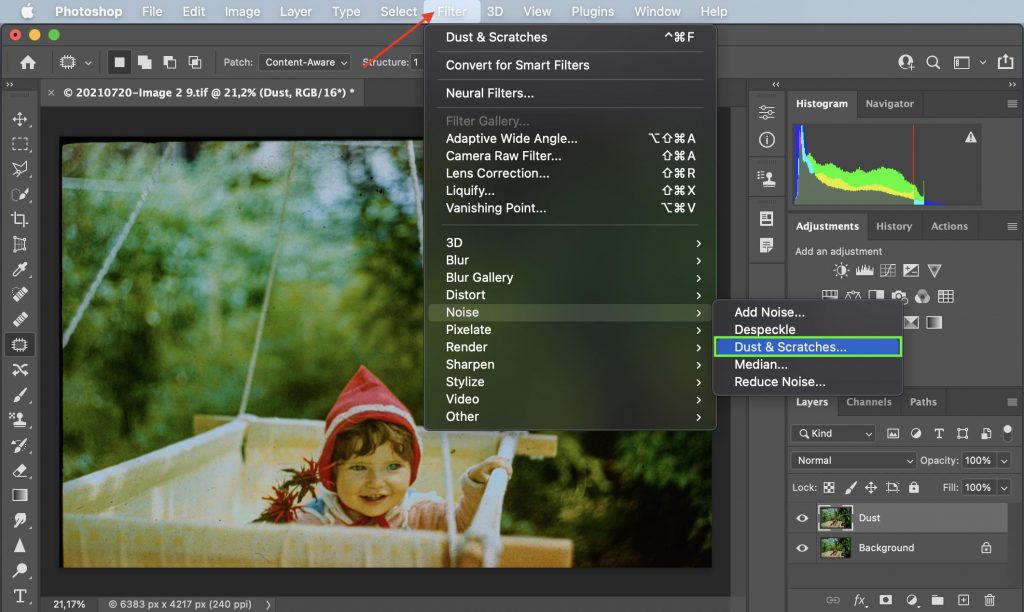
I renamed my layer first to “Dust”. Now I can select the dust filter.
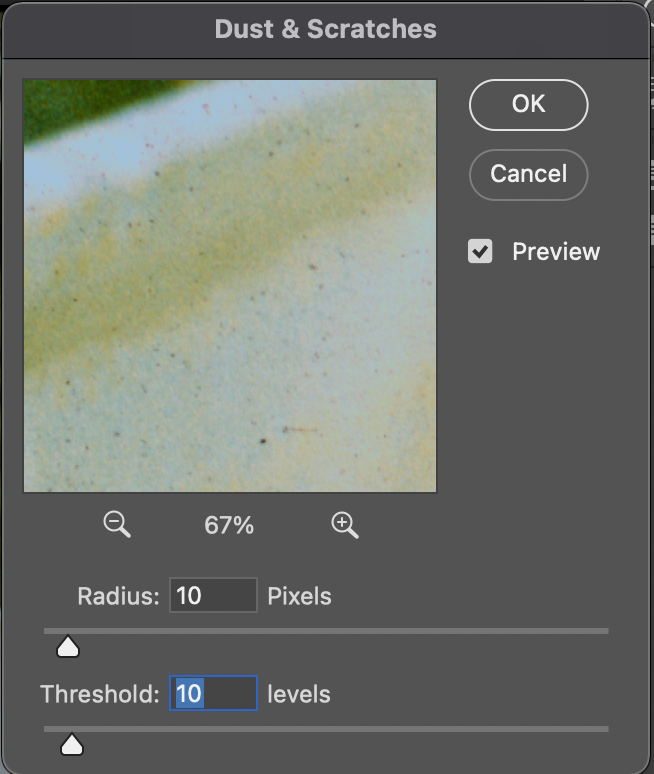
Pick a reference area you want to see in the magnifier window by clicking outside the window onto the photo.
Here are the before-and-after for Radius: 10 and Threshold: 10

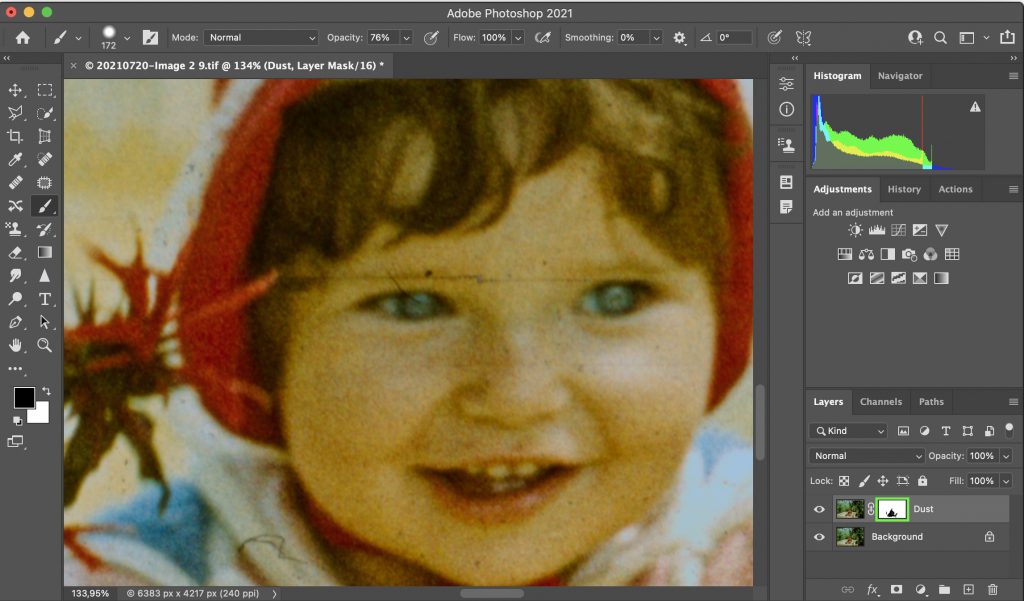
Let’s look at the face. I don’t wanna loose any sharpness in the face area and will most likely always want to remove the filter from the face.
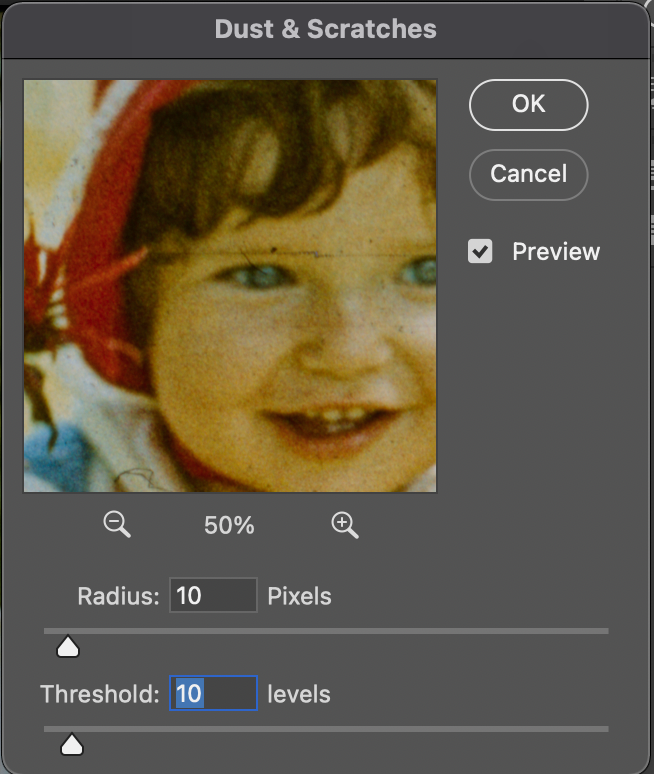
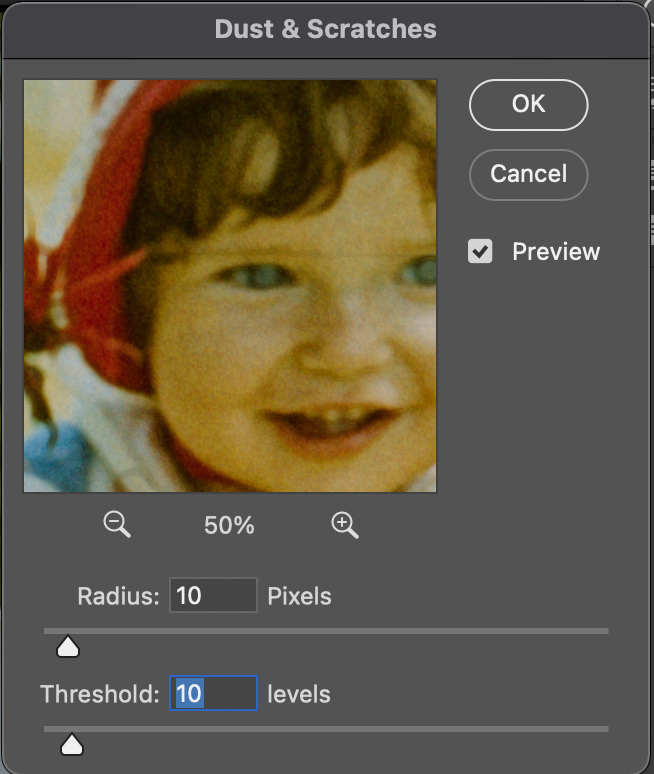
I definitely lost a lot of definition in the eyes and mouth area and will try to remove the dust and scratches from this are in a different, less destructive way later on.
Removing the dust filter from the face
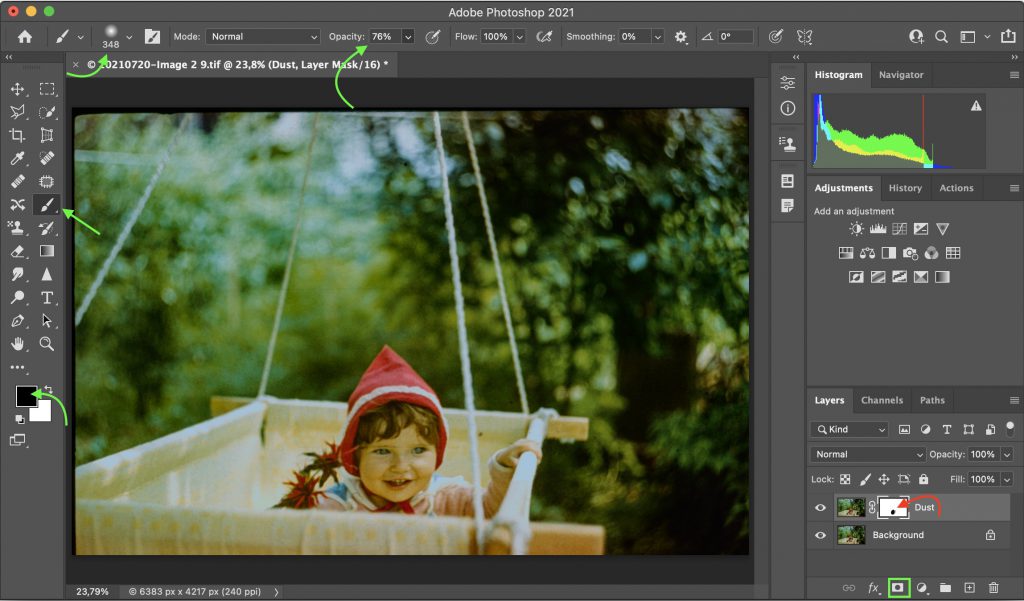
- Create a mask by pressing the vector mask symbol in the bottom right corner (marked green).
- The mask should be white (if black invert it by pressing ⌘+i).
- Pick the Brush tool and set the paint color to black (switch between black and white while painting by pressing x). Black means erase, white jeans paint/cover.
- Choose the right size and opacity for the brush.
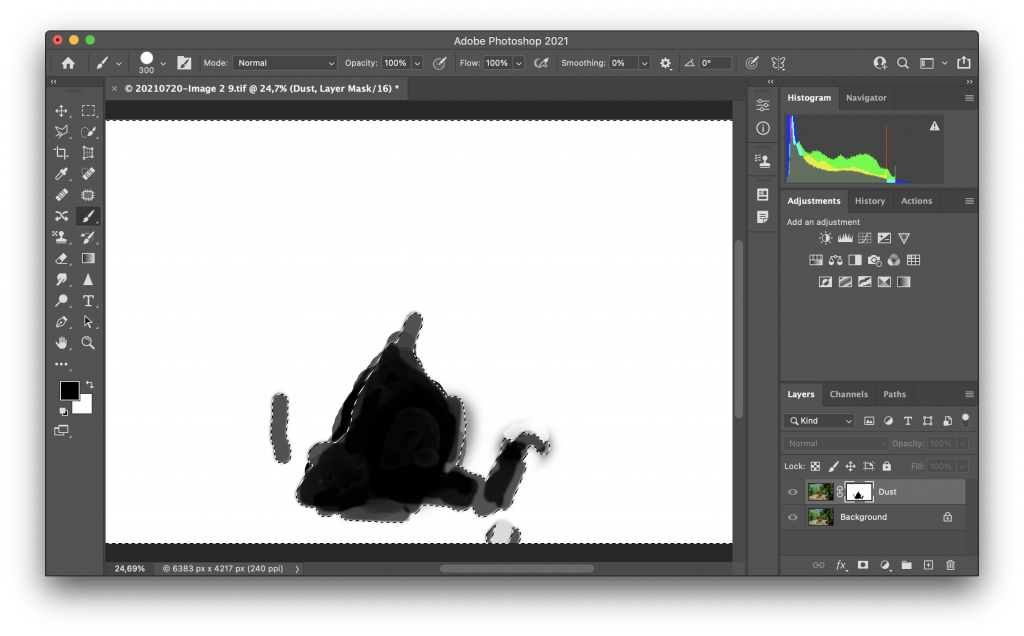
- The area you paint black=erase will turn black, creating a hole into your Dust Filter layer. The background is now visible though the black hole.
- I recovered the face, the clothes, and the hand. Switching between black and white colors helps to modify the recovered area. In the bottom right corner you can see the shape of the recovered area.
An additional step that might be useful in some cases is to check how well the mask was erased=how well the background was recovered.
I clicked onto the mask thumbnail (white square) on my “Dust”-layer while pressing the option-key (⌥ on Mac). I highlighted it green for you.
The mask will be shown instead of the main image and you can modify it if needed.

Working on the face: precise dust removal in photoshop
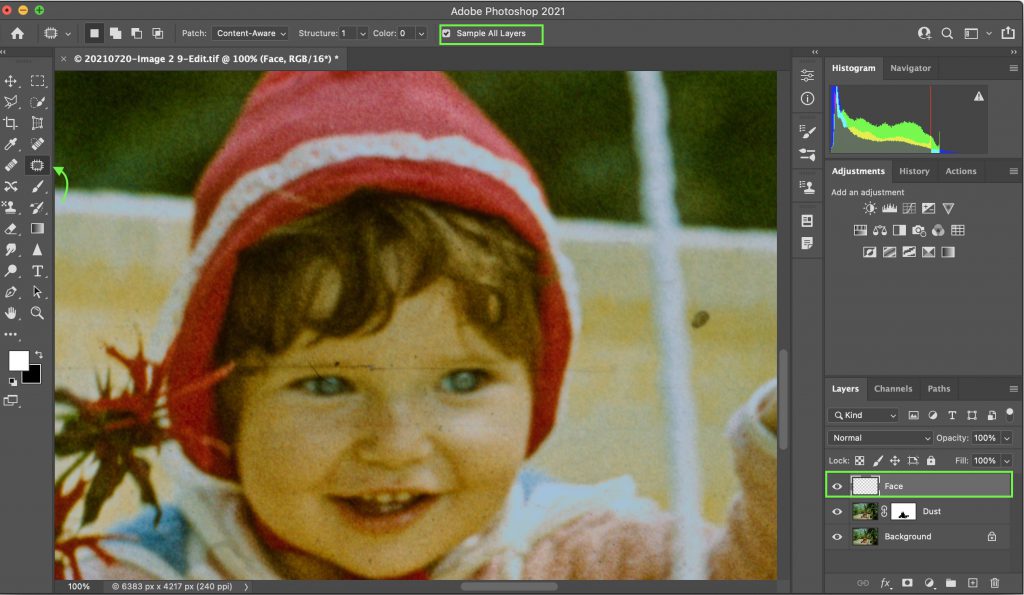
I created a new layer and named it face. I will be using the Patch tool. Here, it is VERY important to sample all layers below.
Additionally, the Spot Healing Brush tool might be useful for bigger spots around the face. Clone Stamp tool is handy to bread down continuous lines, that usually mess up the performance of the Patch tool or the Spot Healing Brush tool.
Here is a before-after of using mostly the Patch tool and a little Spot Healing Brush tool.
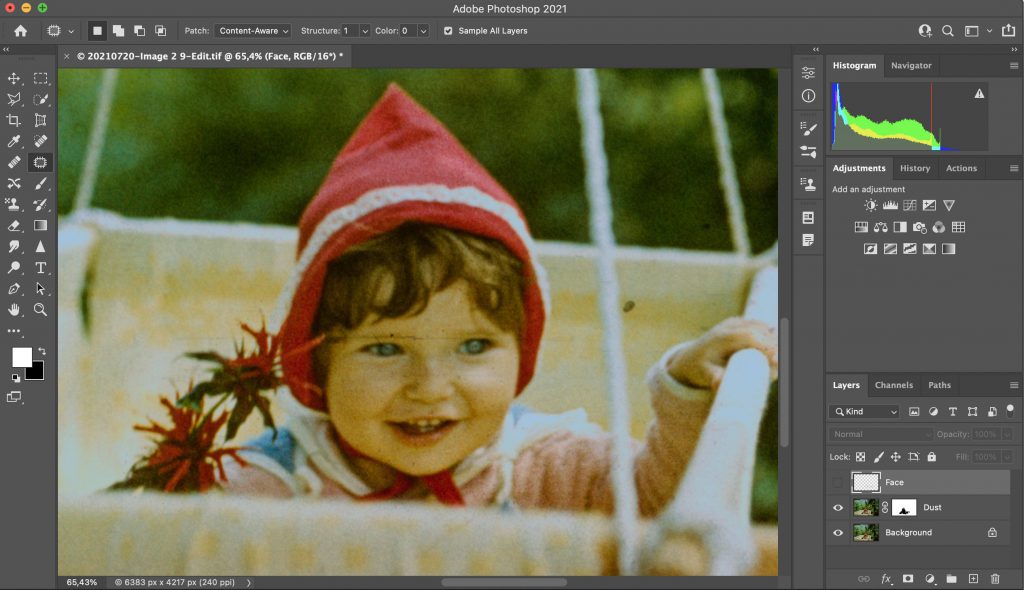
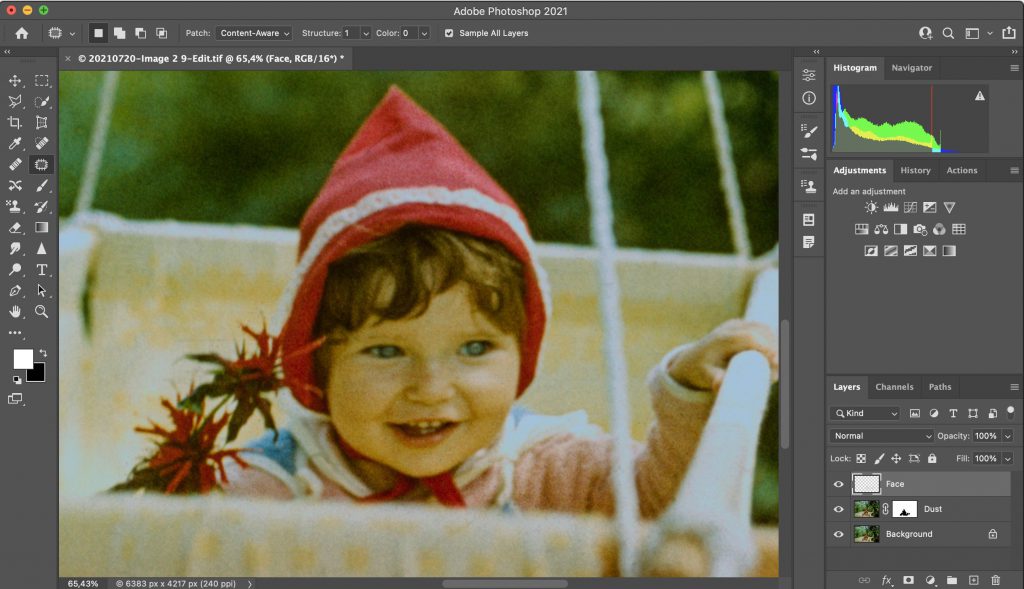
The image still needs a tone of work on the color, but the dust and the worst scratches are gone in just a couple of clicks. The fool befor and after is on the top of this post.
A more advanced way to edit out dust
Subscribe to the newsletter!