Best time saving Lightroom shortcuts for smooth workflow in lightroom Develop Module for Mac
Saving time while working with Lightroom gives me more time to spend on more footage. Productivity is key and a fast workflow is a true moneymaker. These Lightroom Develop Shortcuts help me to save time, be more productive and make more money with my pics.
Lightroom Develop Shortcuts also help to avoid annoying steps and search for the right panels, tabs and buttons. Learn a Lightroom develop shortcut a day and get much more productive in just a week.
Write the one shortcut you want to learn today on a postit and try using it as much as possible.
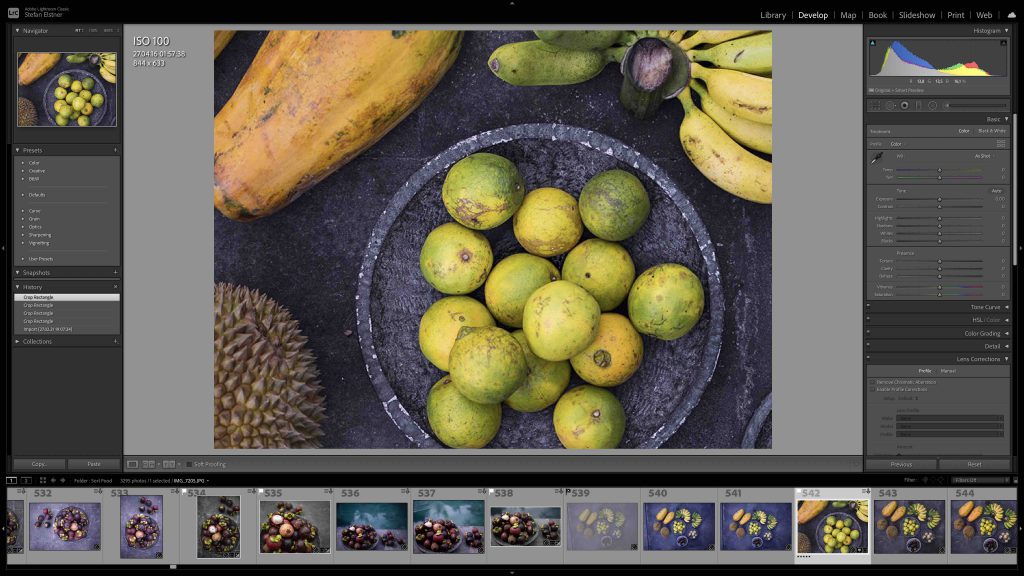
D : From library to develop
After importing and screening photos in Library mode I quickly move on to the Develop Module to work on the Photos. The fastest way to switch from Library to Develop is by pressing the D key.
G : Back to library
To change back to Library press G. Now you are in the Gridview.
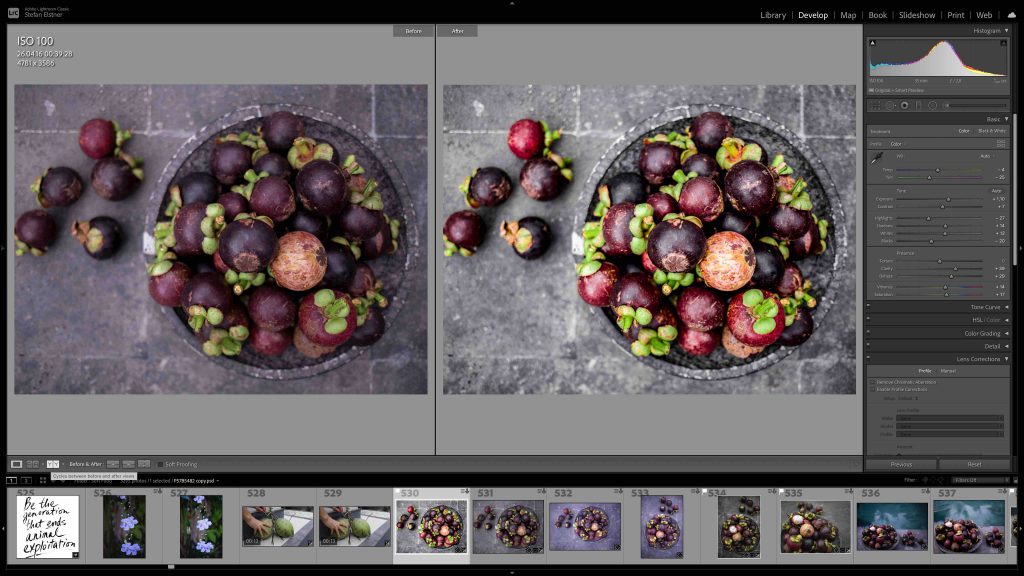
Y : before and after
I use the before and after views to check on my editing progress. To keep my images as natural as possible I have to make sure I don’t overexpose or make my images too cool.
To switch to the before and after views, press Y. To exit the compare mode press Y.
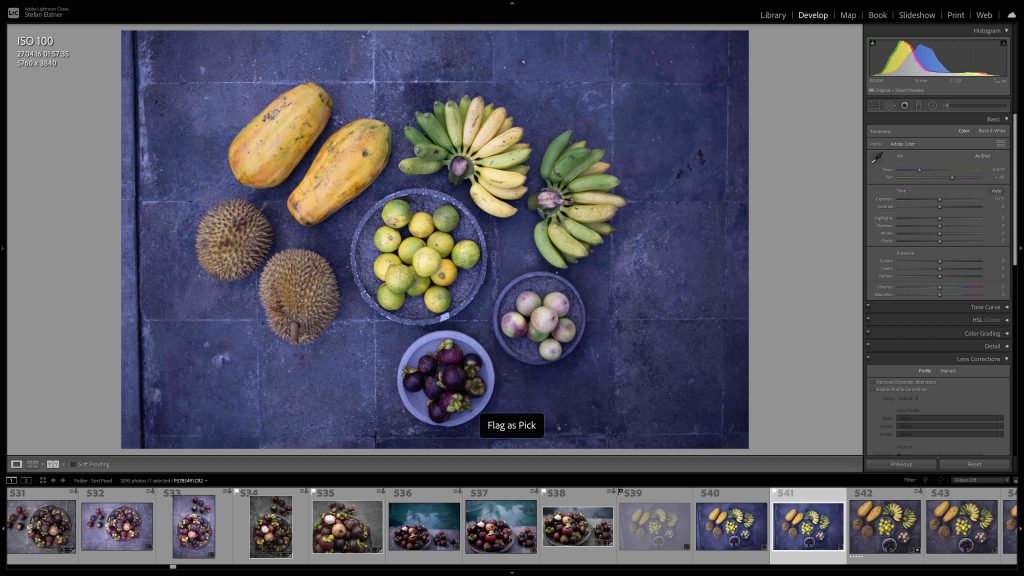
P : Flag the favorite in the Develop Module
While editing in the Develop Module, I usually mark my fav images, which will be exported to be used on the blog here. Press P to pick the best images.
⌘ +/ – : Zoom in and out in the Develop Module
If I don’t have a trackpad or don’t work on my laptop, there is a shortcut for the zooming in and out ⌘ +/ –. Usually, I just use the Pinch Zoom Gestures.
K : Brush tool in the Develop Module
For the fine tuning the brush tool is super useful. To activate is quickly, press K.
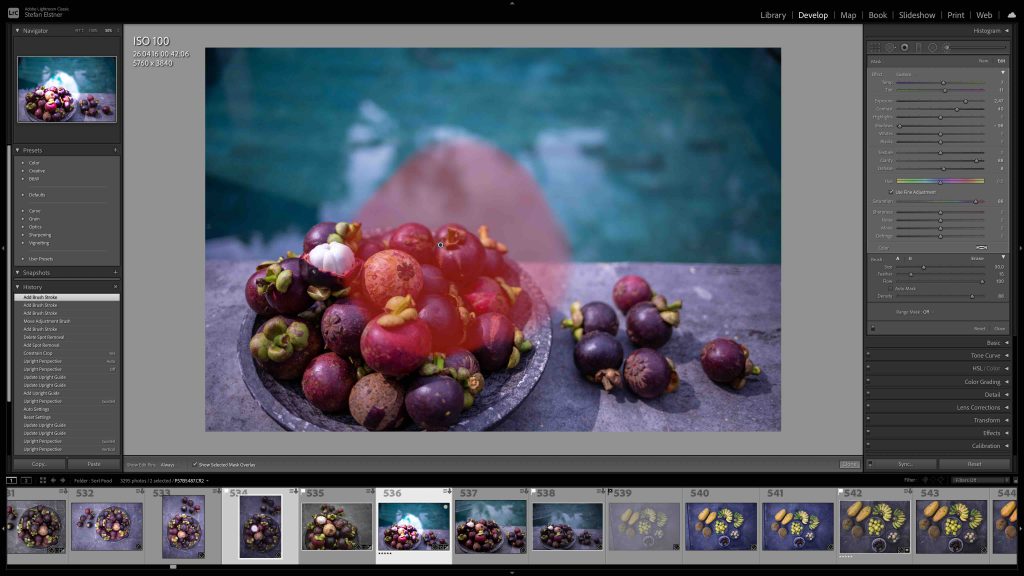
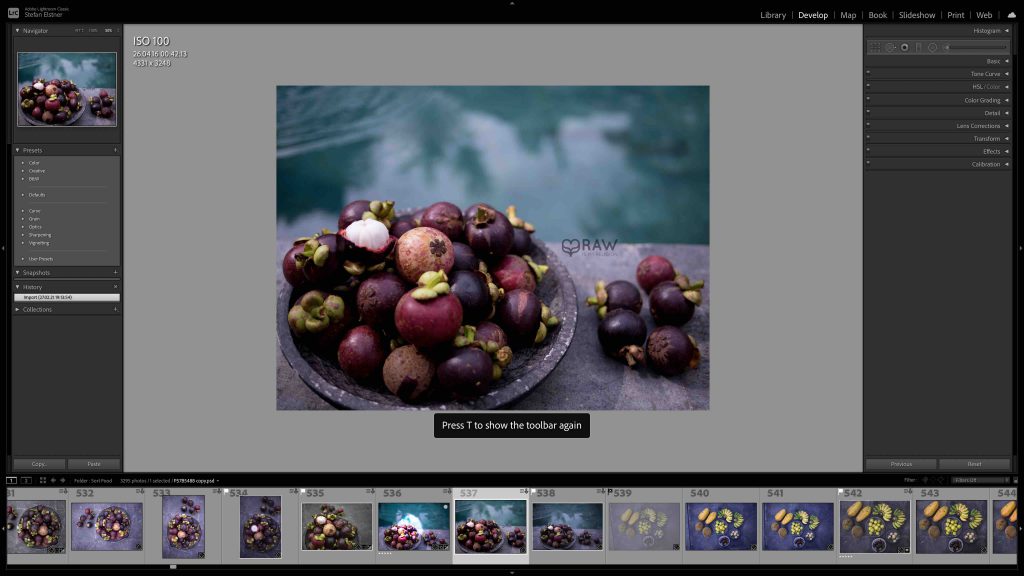
T: Show Toolbar in the Develop Module
Especially while using the Brush Tool I want to highlight the area I worked on. Also the pins of the brushes, when using multiple brushes can be shown or hidden here. Press T to show the Toolbar or to hide it.
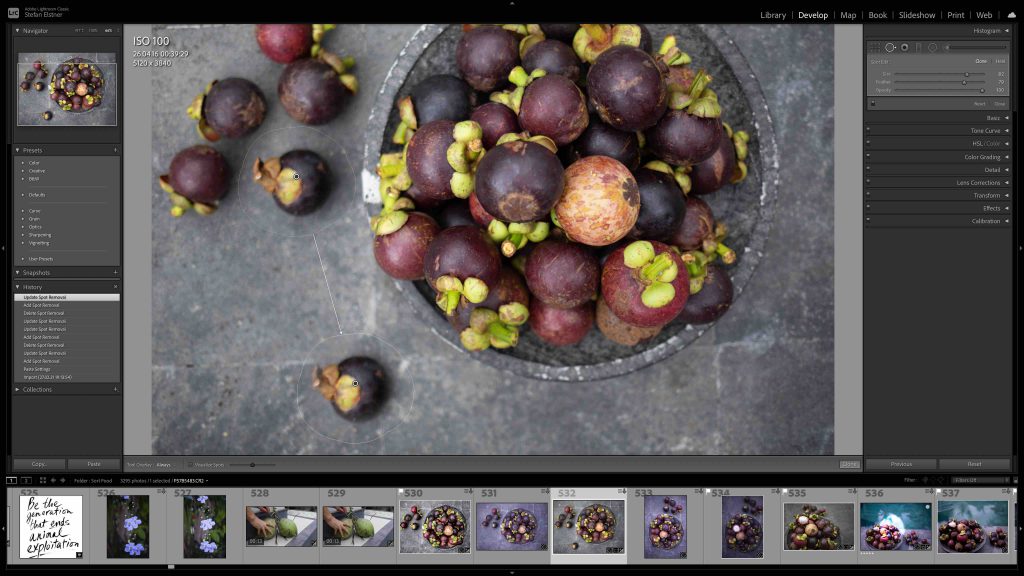
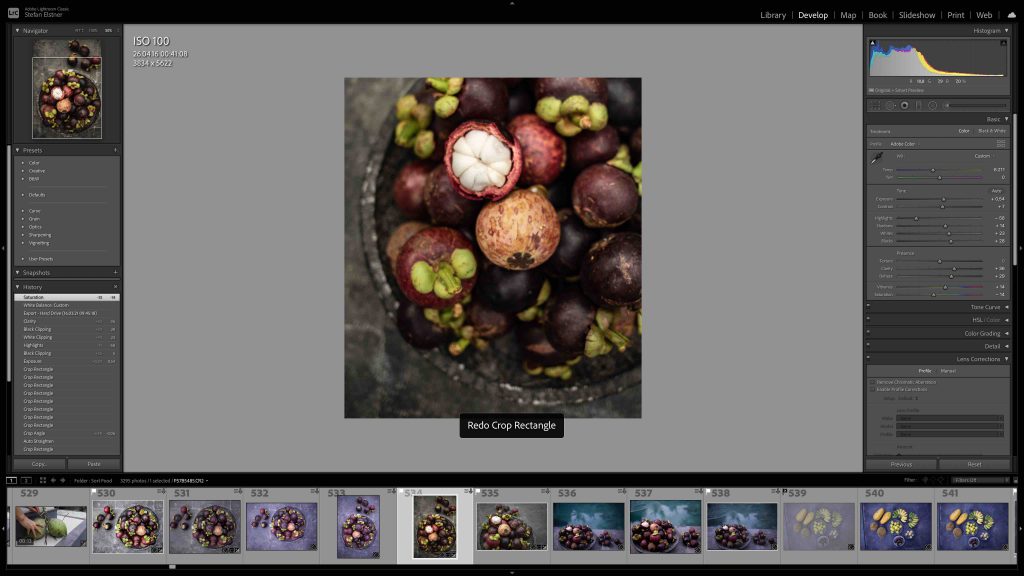
Q : Spot Removal in the Develop Module
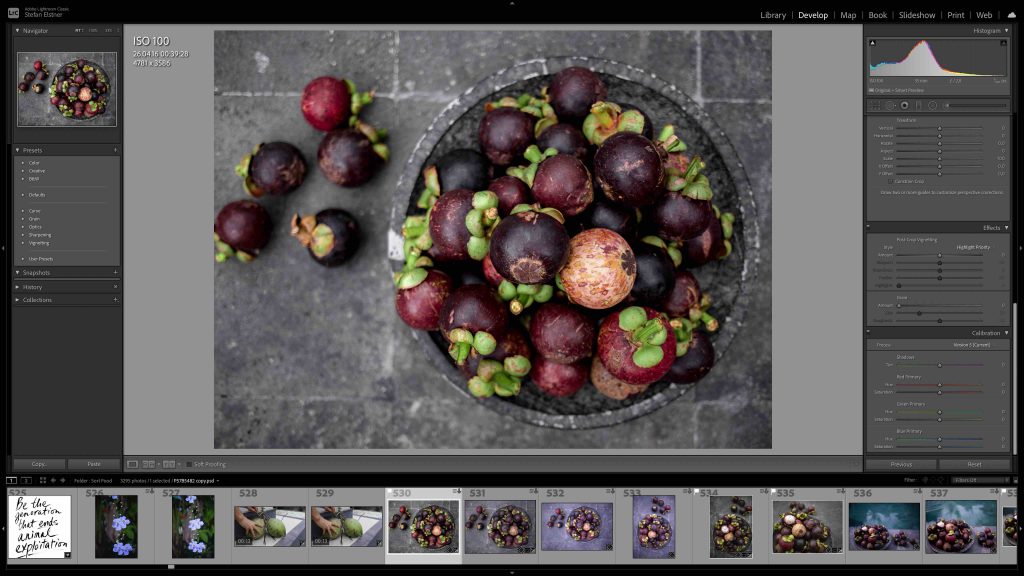
Remove the ugly spots, hide object, or ad objects by pressing Q. I use this Spot Removal Tool shortcode especially when editing human skin in photos. Here, I added a mangosteen to the image by using the Spot Removal Tool.
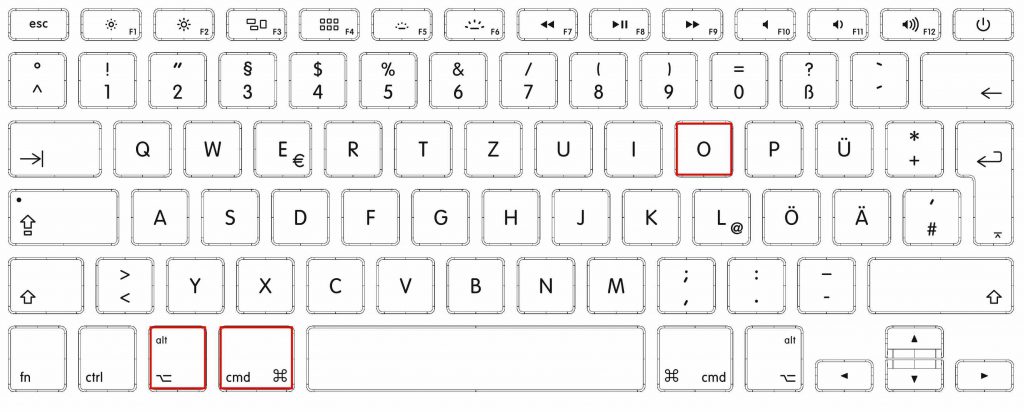
⌥⌘O : Grid Overlay
Helpful visual adjustment guide for straightening the image.
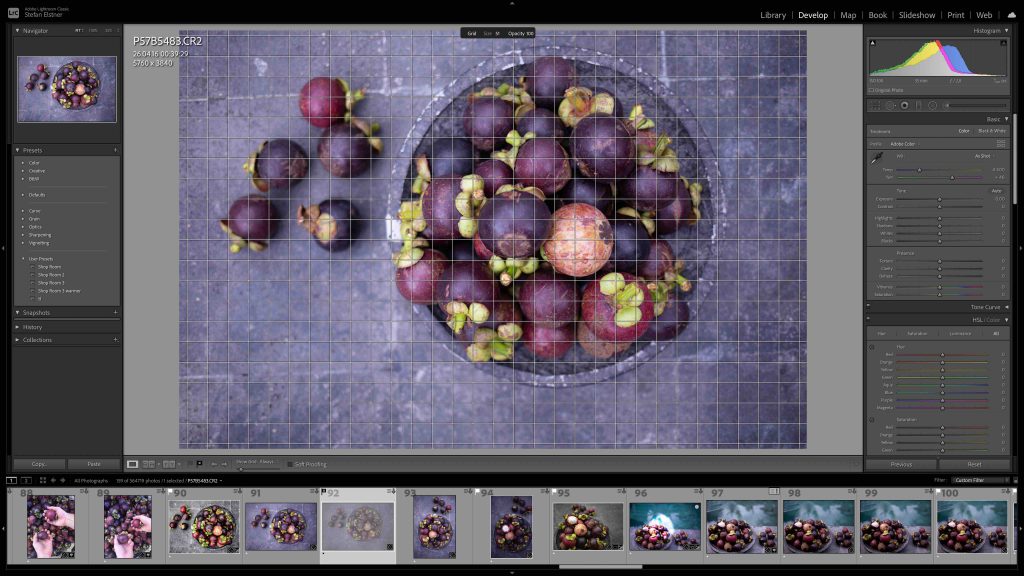
Press ⌥⌘O to ad the grid. Press ⌘ for more options and hold it. A small popup window will appear at the top. You can adjust “Size” or “Opacity” here. Click the number besides one of those, hold and drag left or right.
Press ⌥⌘O to disable the grid.
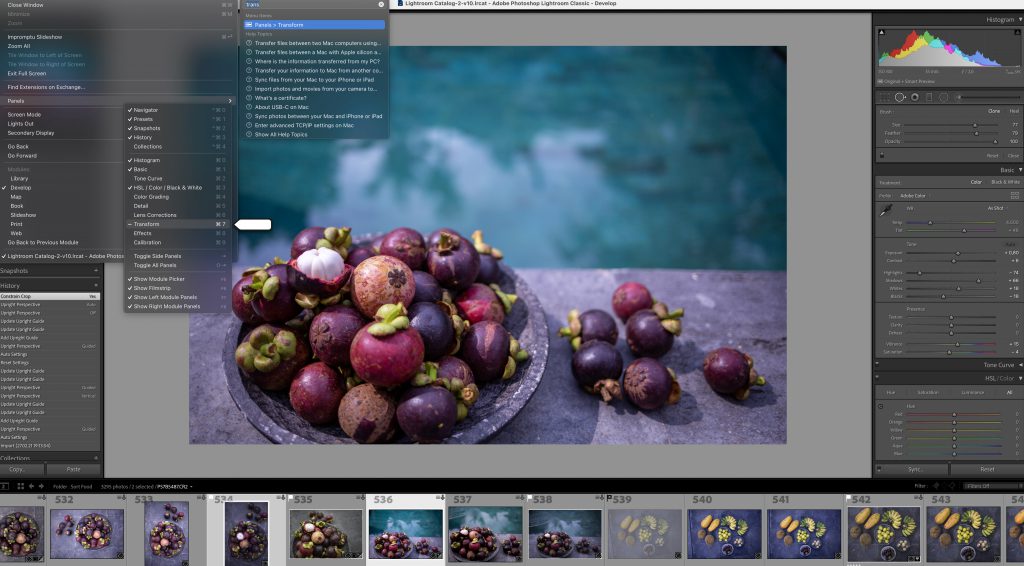
⌘[ : 90º-Rotate in the Develop Module
If I want to rotate the image by 90º left or right and change the orientation from horizontal to vertical or vertical to horizontal press ⌘[.
Unfortunately, this shortcut will not work with my german keyboard. I I have to take the time consuming Right-Click > Transform>CCW/CW.
It might be the fastest to switch to the Library Module by pressing the G and the E (for the Loupe View = single image). On the bottom toolbar there are rotations symbols. You can enable them by pressing the arrow-down on this toolbar on the right.
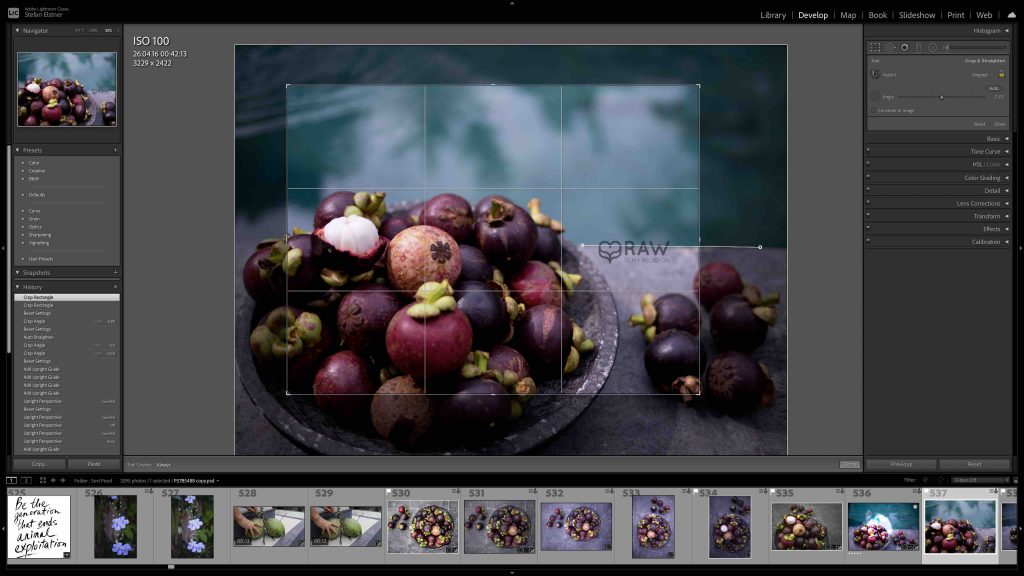
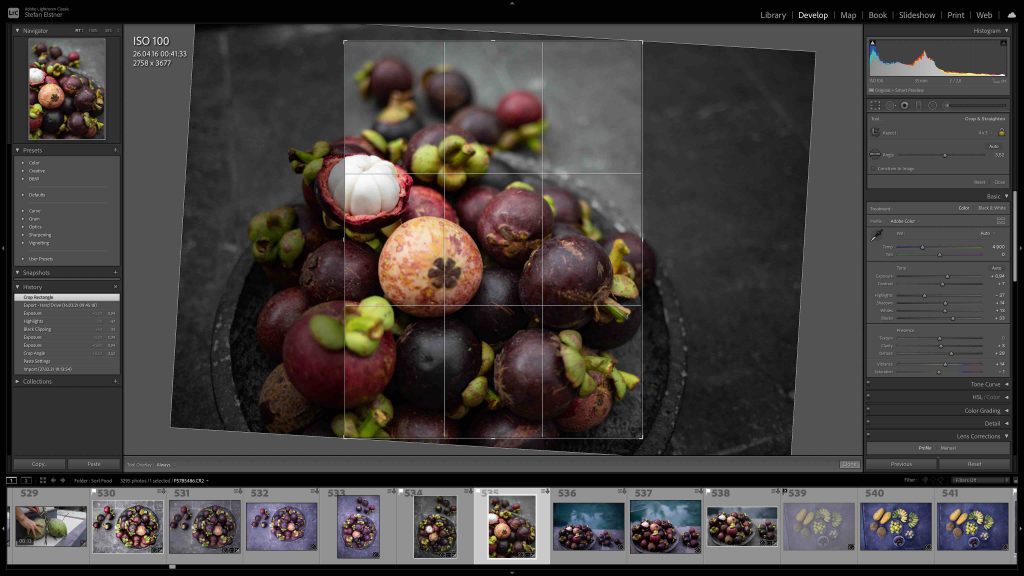
R : Crop in the Develop Module
The shortcode for the Crop Tool is R.
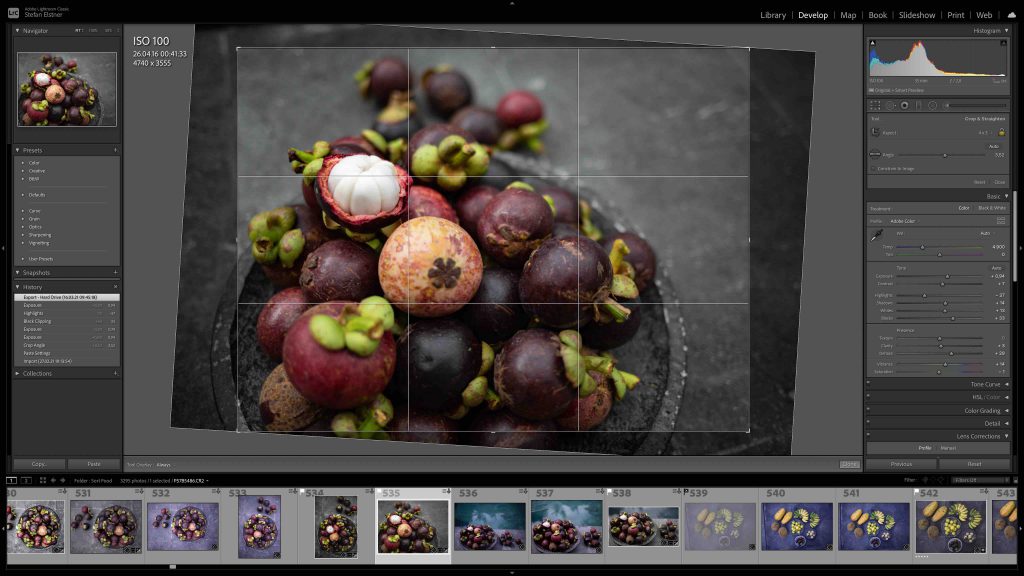
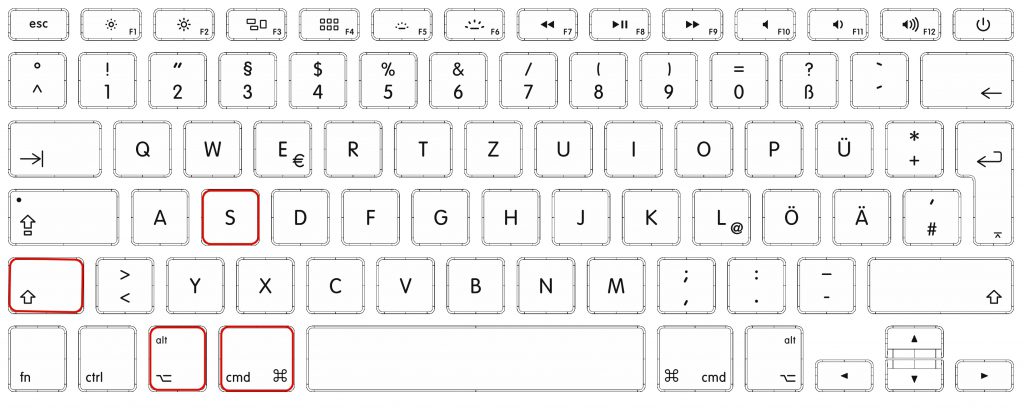
R,⌘: Straighten in the Develop Module
In the Crop Tool, press ⌘ and drag a line to straighten the photo. Really nice shortcode if you take crooked photos sometimes just like me.
R;X : Crop orientation in the Develop Module
In the Crop Tool, press X to change the orientation of the crop selection. Be careful with the X, you could accidentally flag your image as rejected and bulk-delete it later. If it happens, press U to unflag the image.
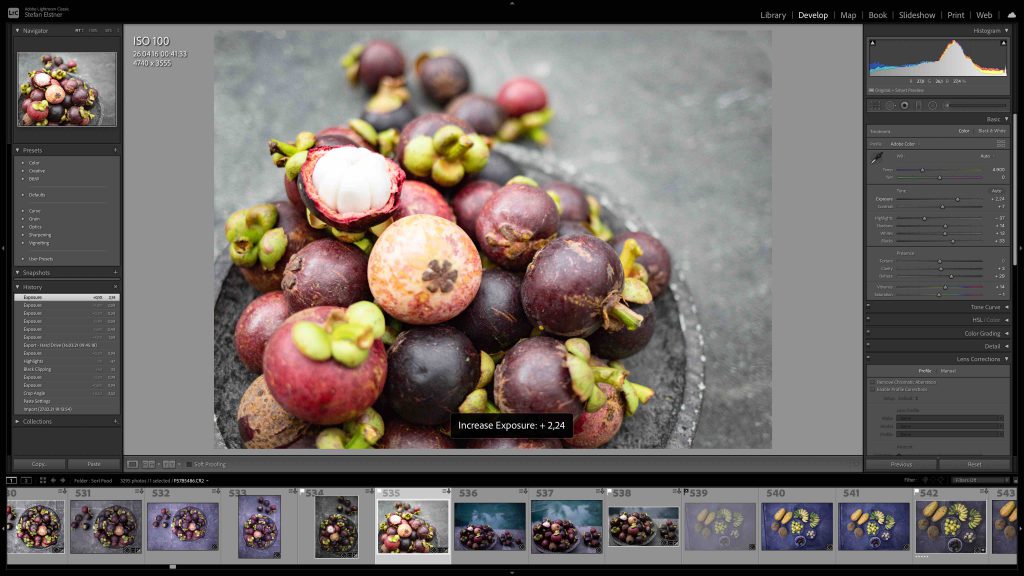
+/- : Exposure in the Develop Module
Quickly change the exposure by pressing + or –.
⌥+/- : Exposure in the Develop Module
Press ⌥ additionally for smaller increments and finer exposure adjustment.
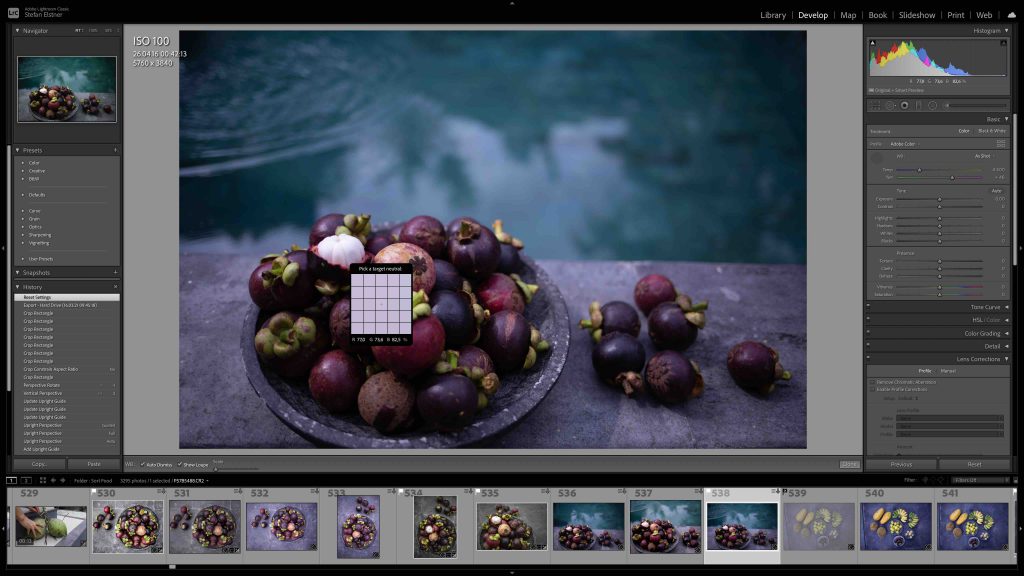
W: White balance Selector in the Develop Module
To activate the white balance eyedropper Selector Tool the eyedropper press W.
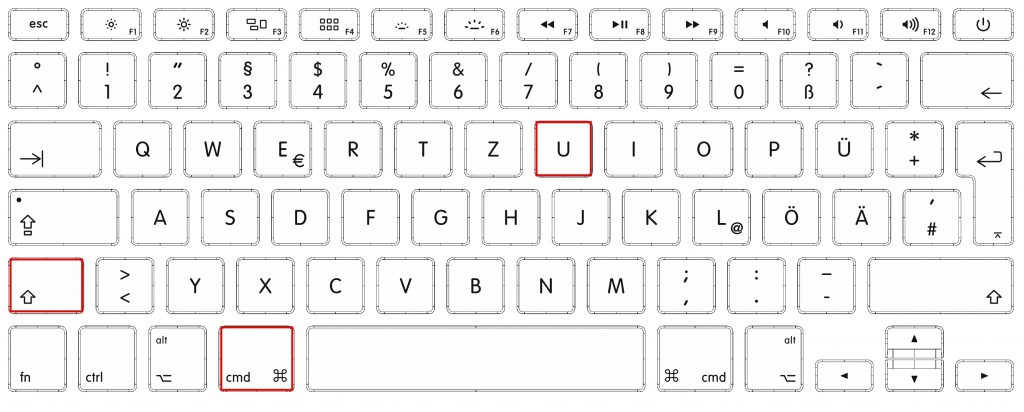
↑⌘U: Auto White Balance in the Develop Module
For auto white balance press ↑⌘U.
⌘Z : Undo in the Develop Module
Undo works in the Develop Module as usual.

↑⌘Z : Redo
Redo works in the Develop Module as usual.
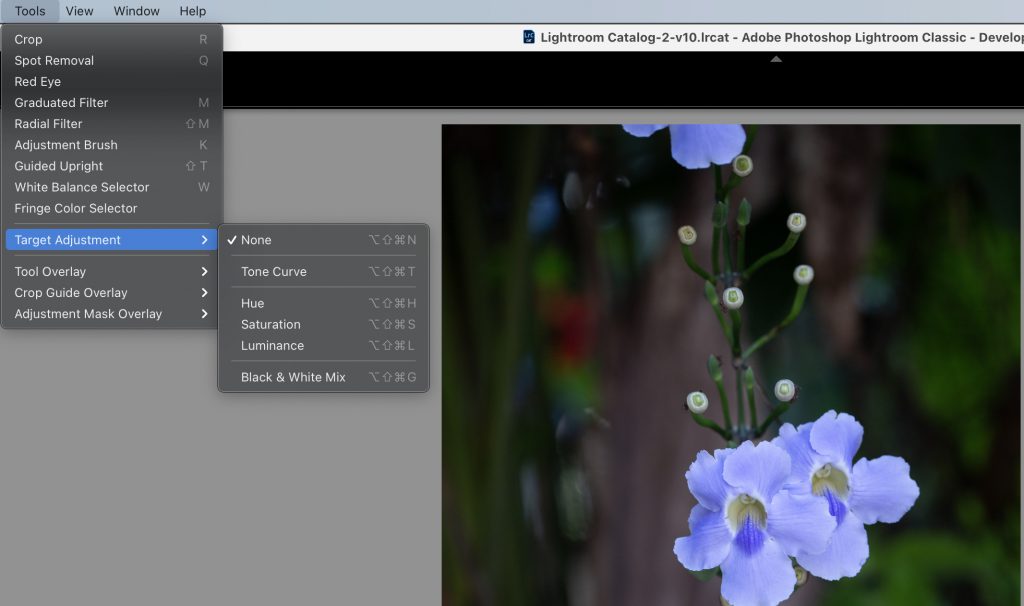
Adjustments in the Develop Module
If you like me use the HSL Adjustment Panels all the time, memorise the shortcodes for a faster editing workflow. You will be able to instantly adjust the hue, luminance and the saturation without going back and forth to the panel.
This is the step I would normally spend the most time on, as I like to adjust all 3 for one color before moving on to the next. Went back and forth millions of times before I memorised the shortcodes.
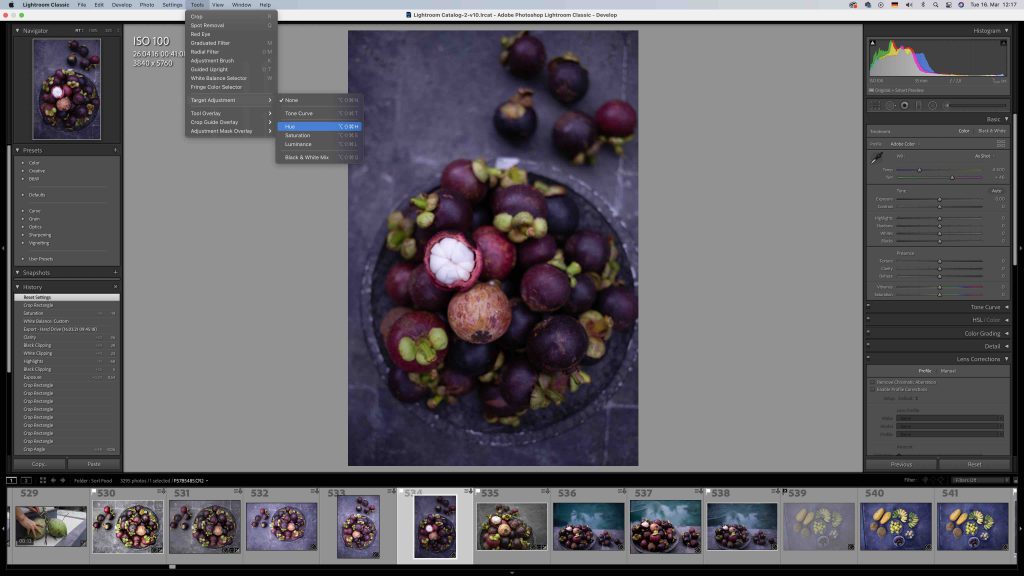
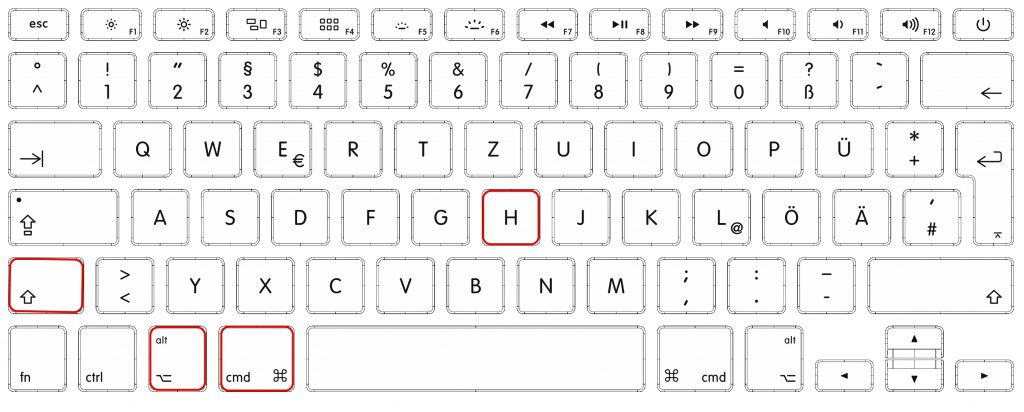
↑⌘⌥H : Hue
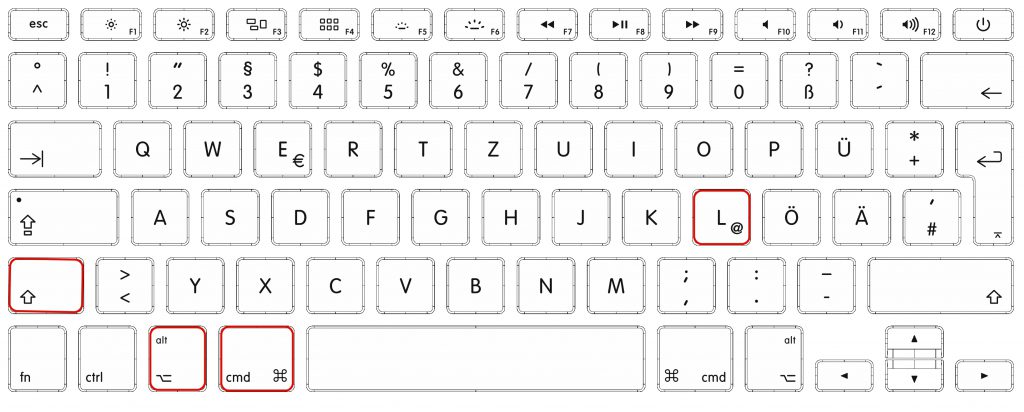
↑⌘⌥L : Luminance
↑⌘⌥S : Saturation
⌘0 – ⌘9: Editing Panels
I don’t use all the editing panels all the time, but I use some of them on every image. The panels can be opened by pressing ⌘0 – ⌘9.
I use ⌘6 for lens correction, ⌘7 opens the transform panel.
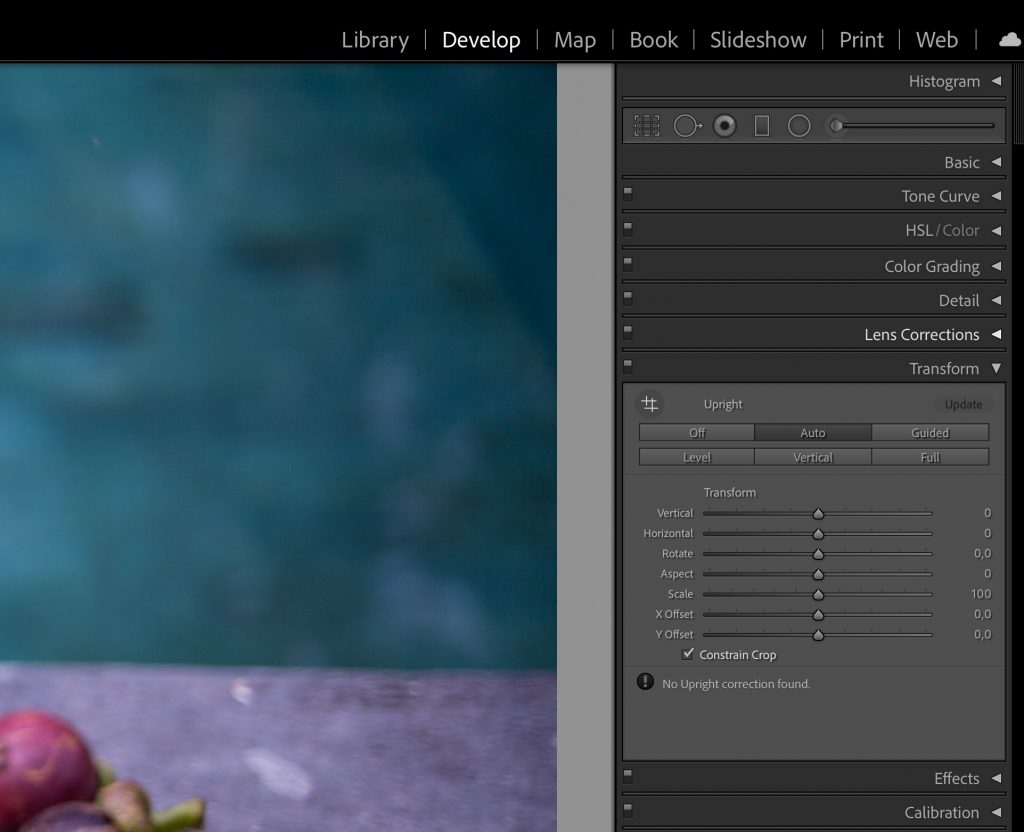
Transform
⌘7: Transform Panel
If my image needs more work than just the auto straightening, I will jump to the transform panel by pressing ⌘7.
↑⌘ E : Export shortcut in Lightroom Develop
Press ↑⌘ E to open the export dialog box.
⌘D: Deselect images before exporting
I sometimes end up exporting 30+ images instead of the one I worked on. The multiple images might have been selected while importing or bulk editing. To prevent annoying bulk export, just press ⌘D to deselect all images and select the one you want to export.
↑⌘ I : Import shortcut in Lightroom Develop
Press ↑⌘ I to bring up the Import Dialogue Box.